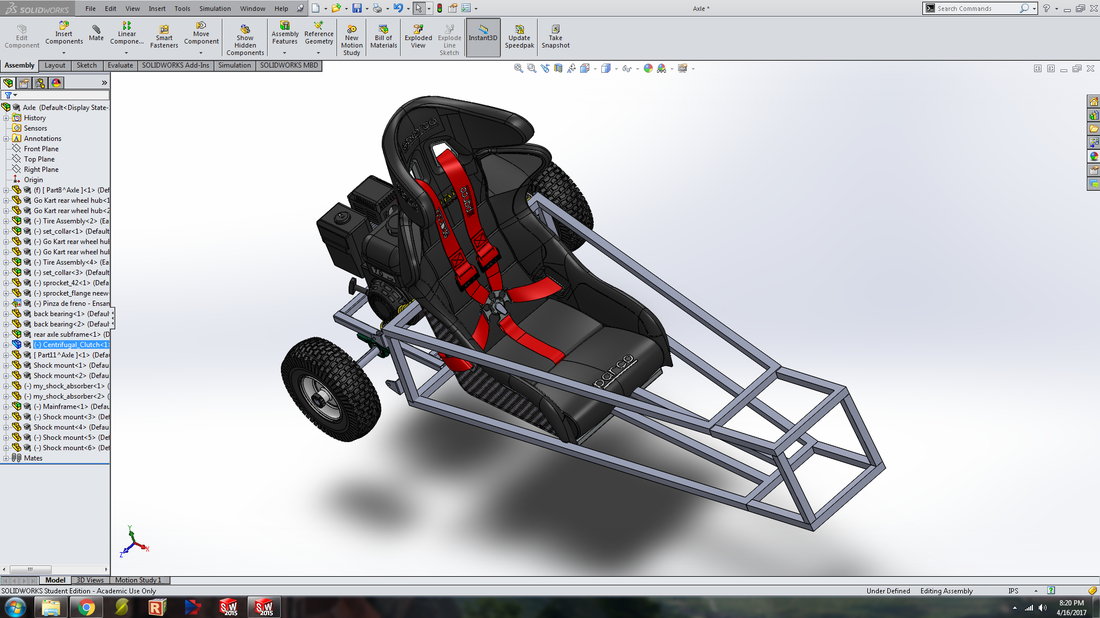
Learning CAD Design in Solidworks
The learning curve with Solidworks was a steep one based off trial by fire and youtube tutorials but once I scrapped the original frame idea in the first two photos, the pieces started to fit together and a finished design was completed in about 2 weeks. All of the frame was to be made out of 1in steel square tubing and I managed to find a lot of models for parts I was going to use online already.

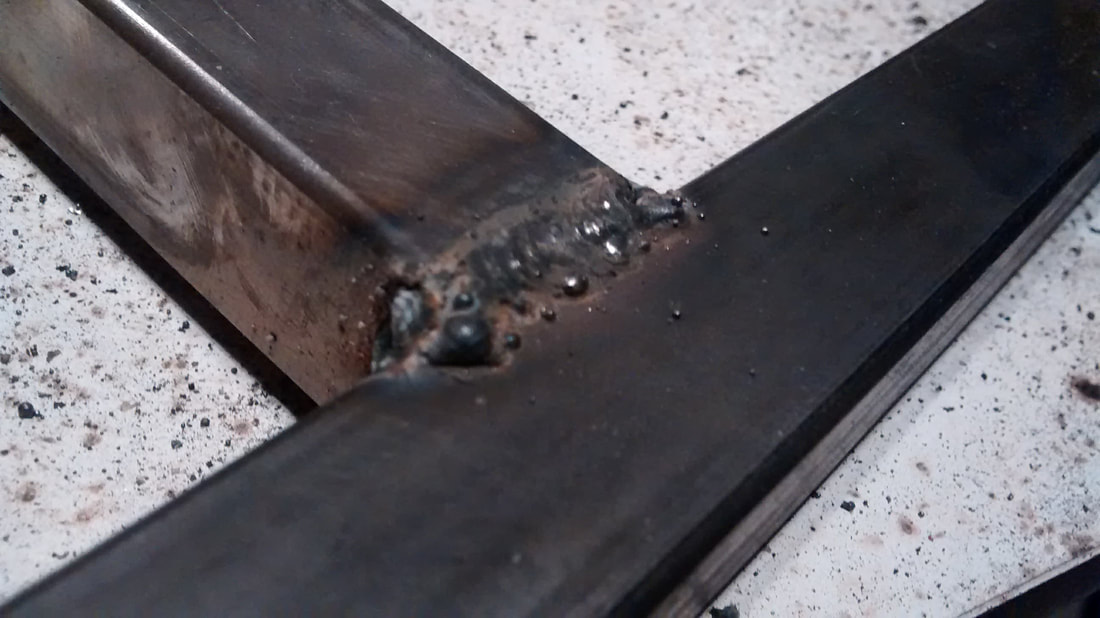
Learning to MIG weld and consolidating parts
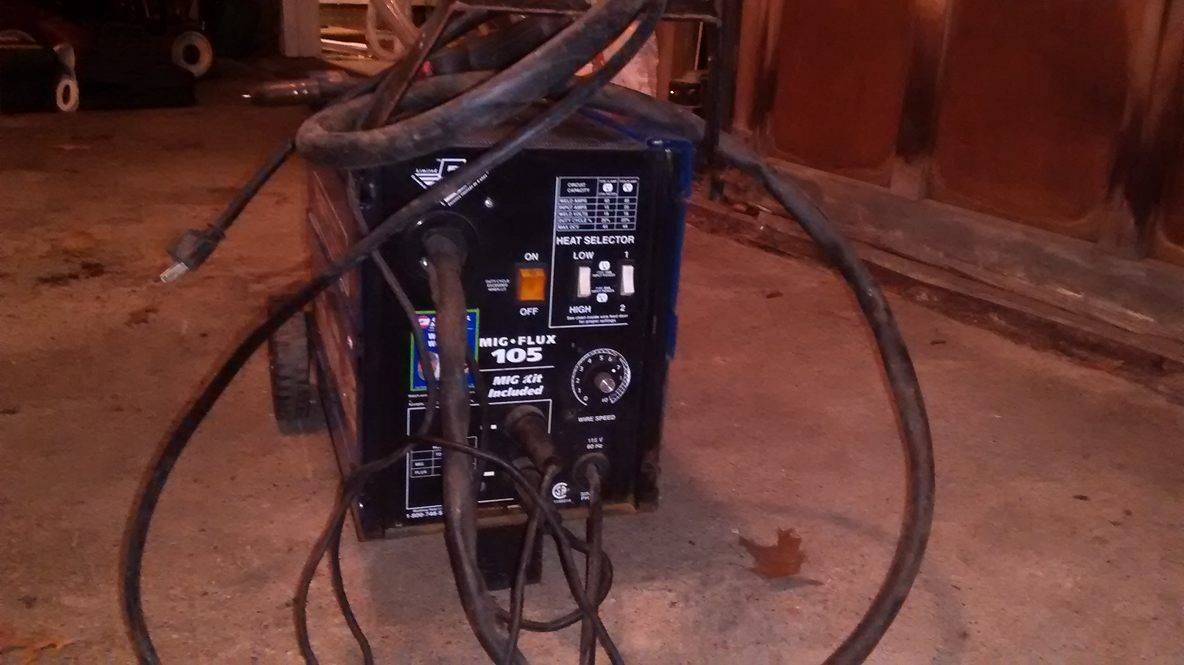
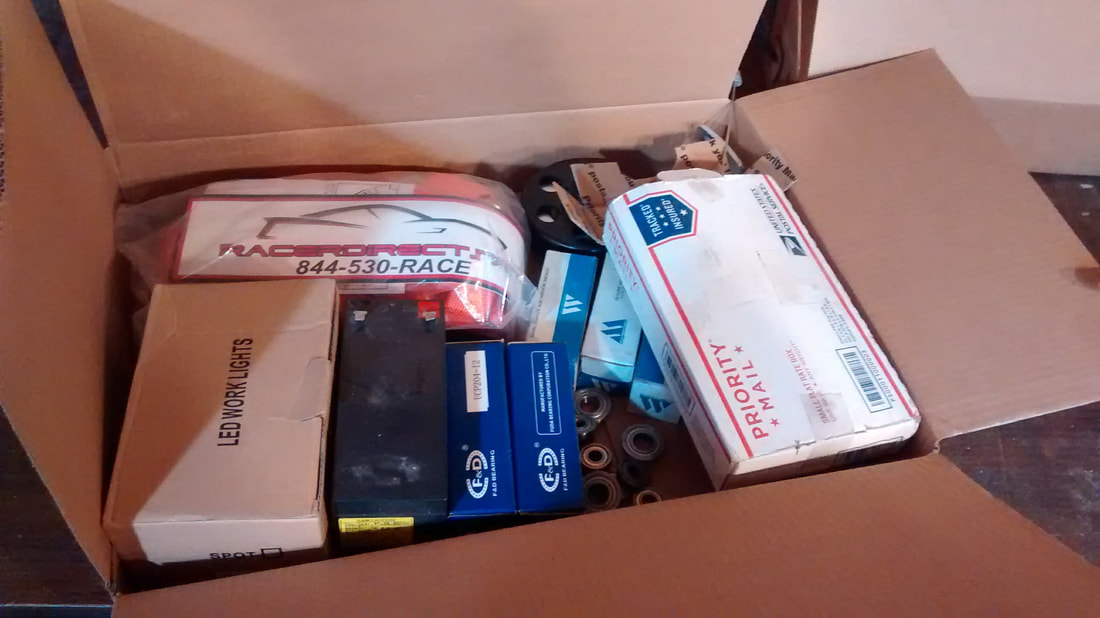
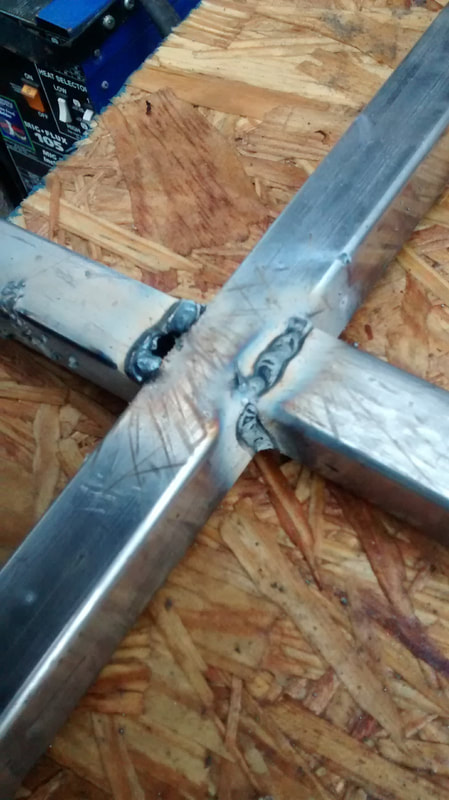
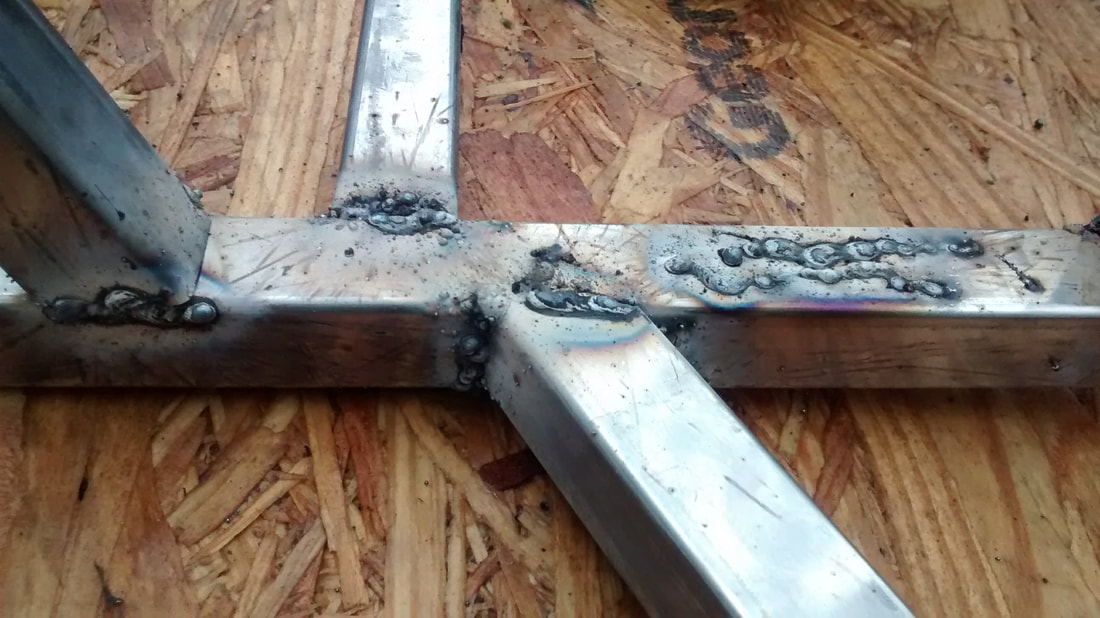
Before the CAD was finished, I purchased a Campbell MIG flux-core welder on Craigslist and also started searching around for a seat, engine, and buying parts off ebay and amazon. My first welds were too hot, too cold, or too fast but after playing around on scrap steel and 1in steel tubing that the frame was made out of, I slowly got the feel for it and my welds started getting stronger, but more importantly prettier.
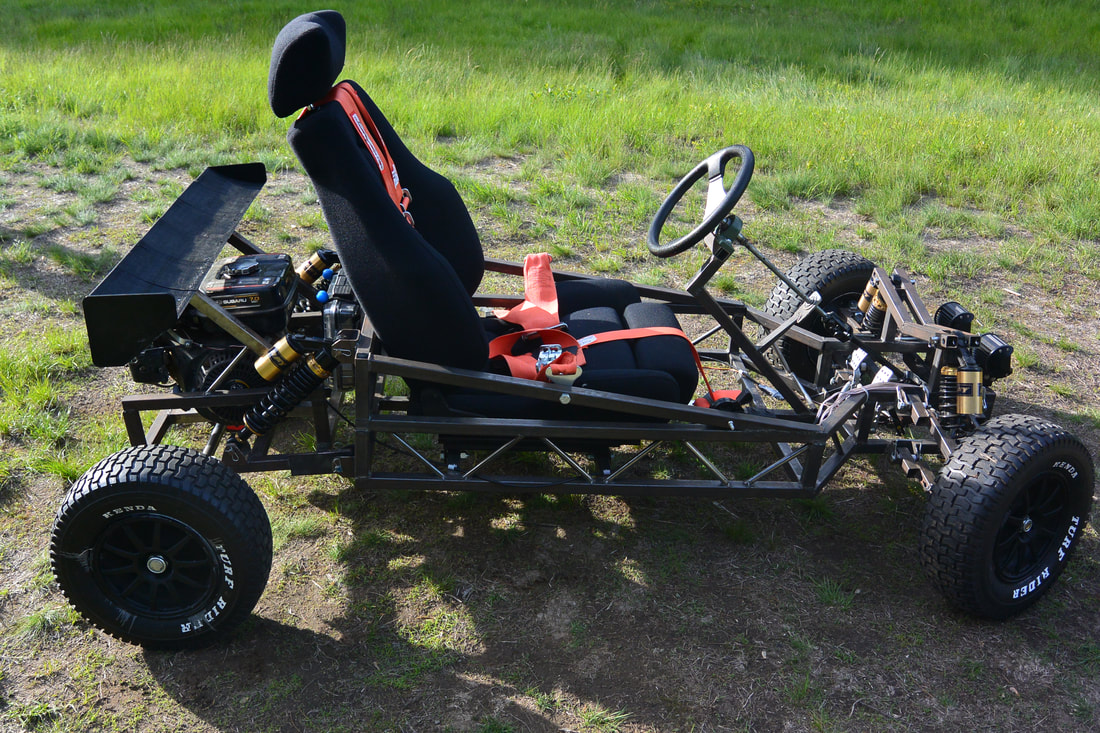
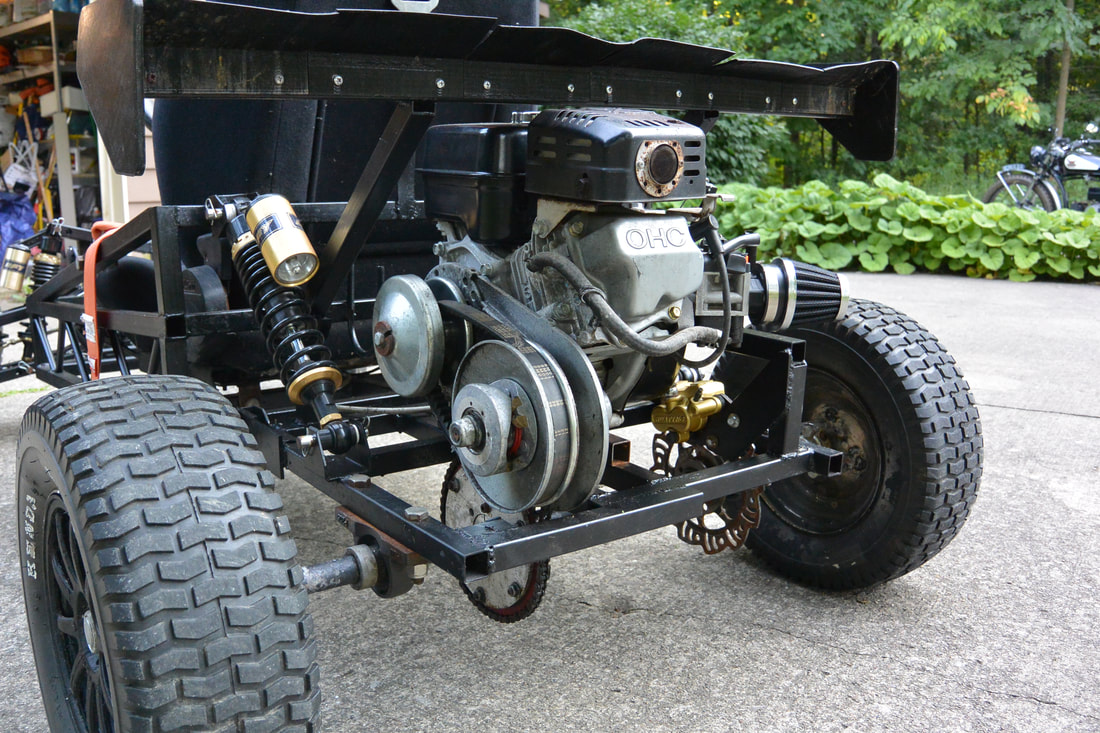
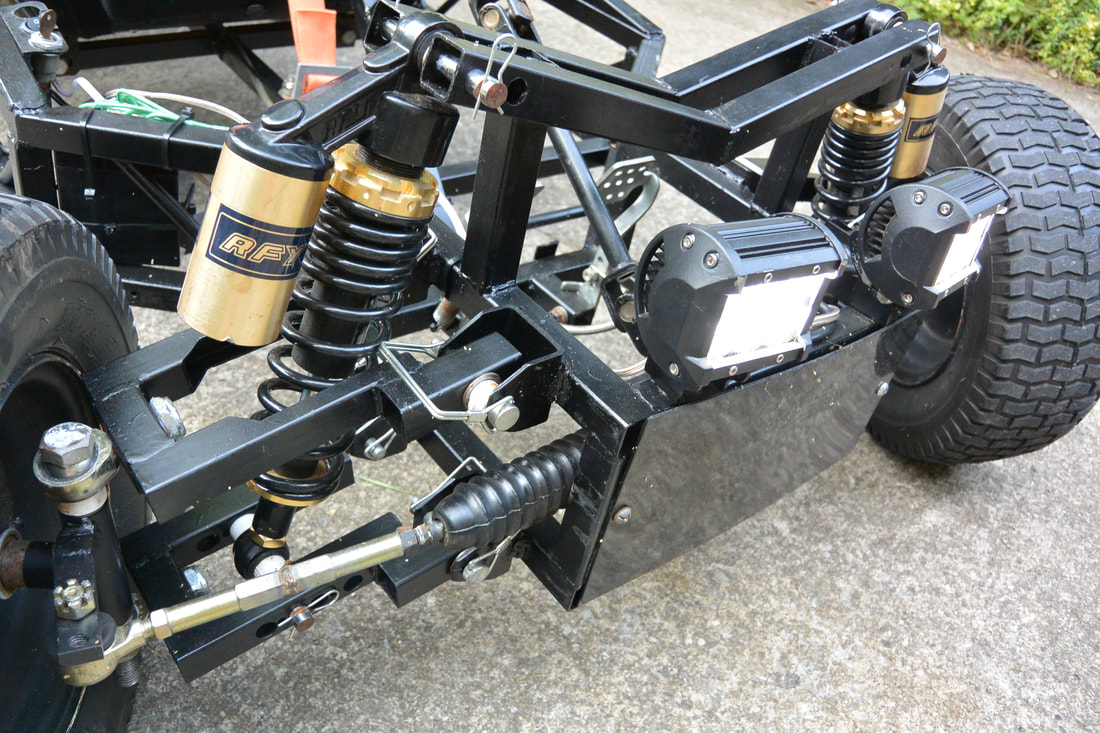
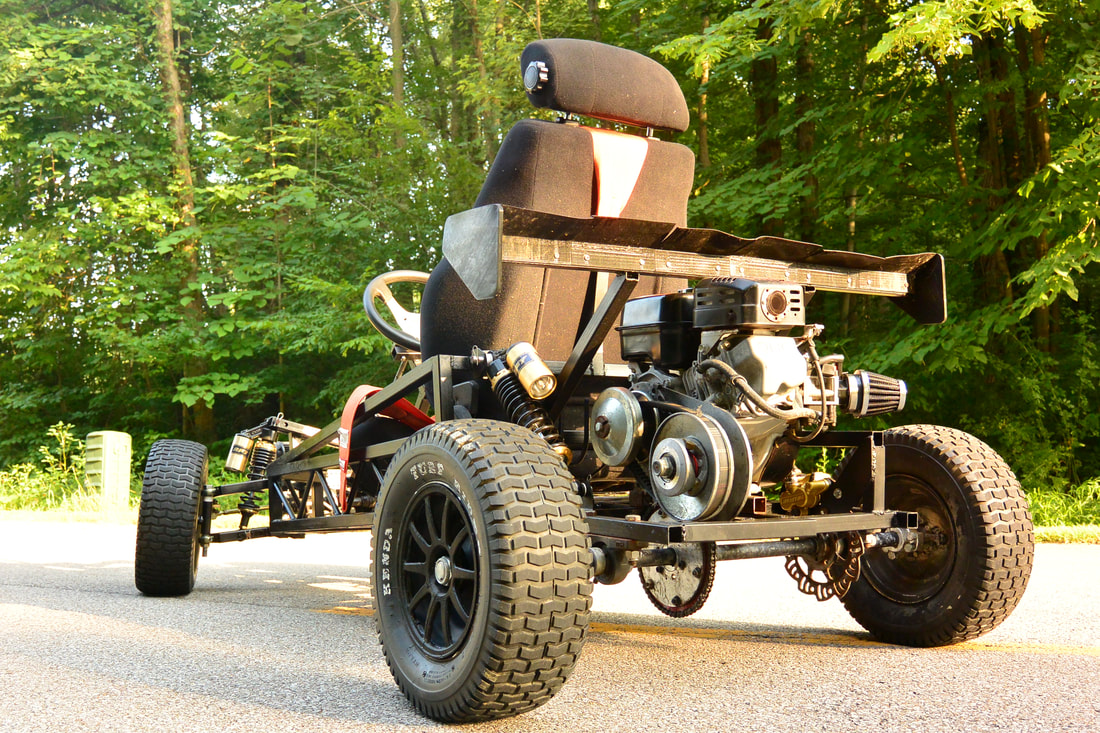
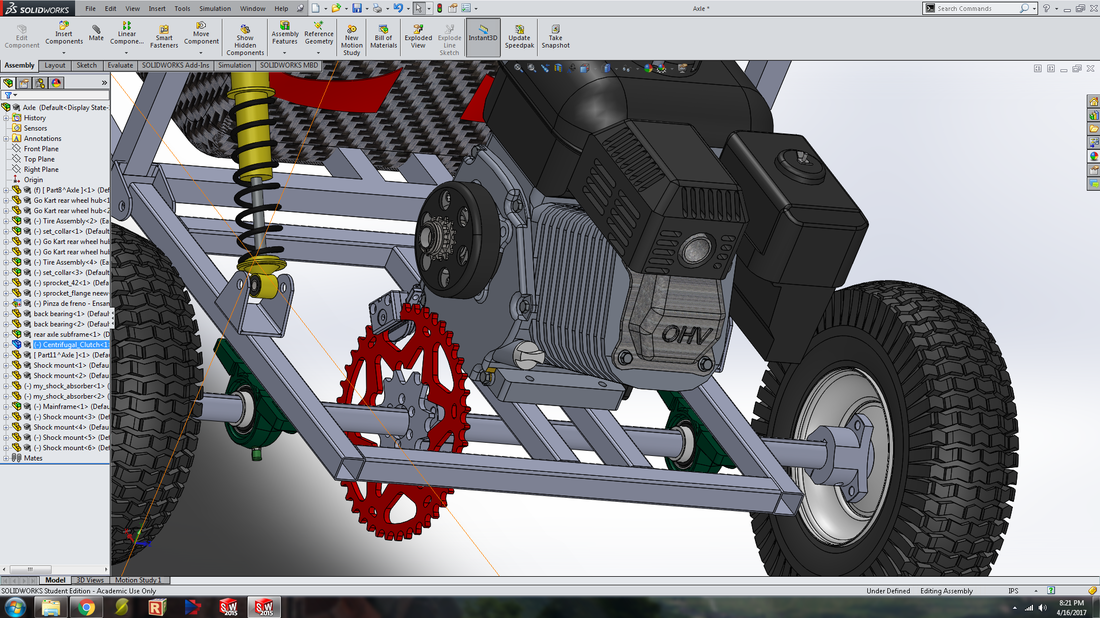
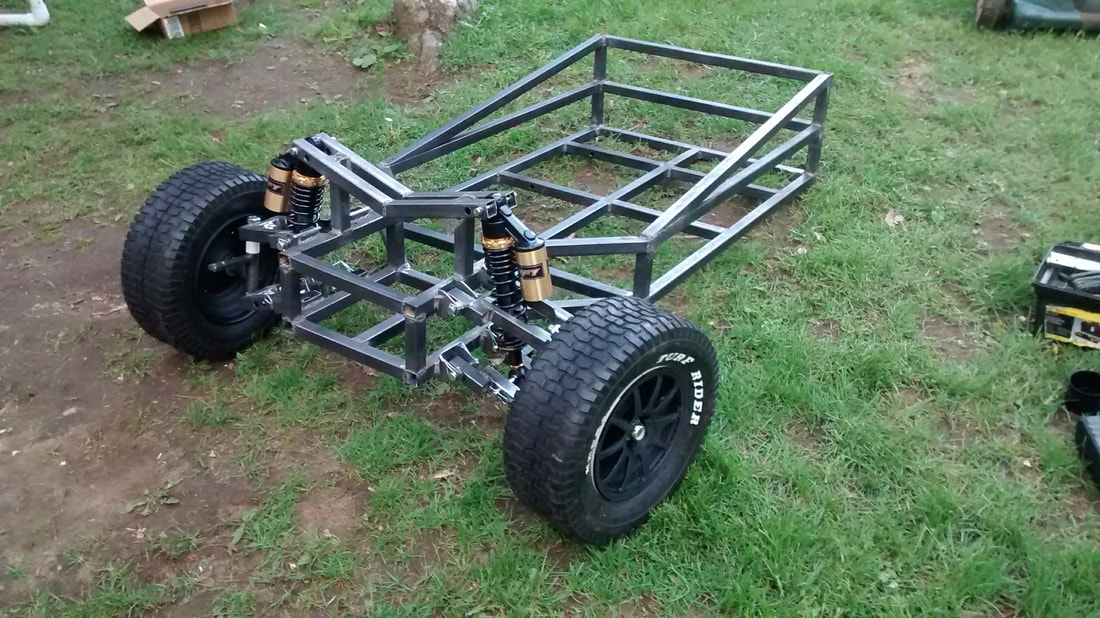
Rear End and Wheels
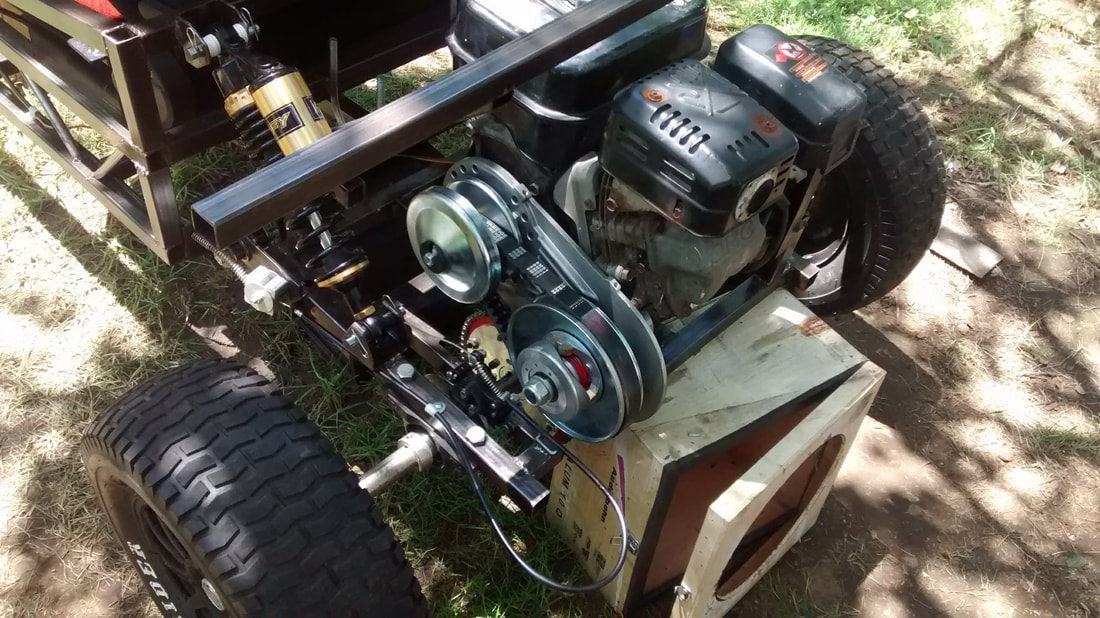
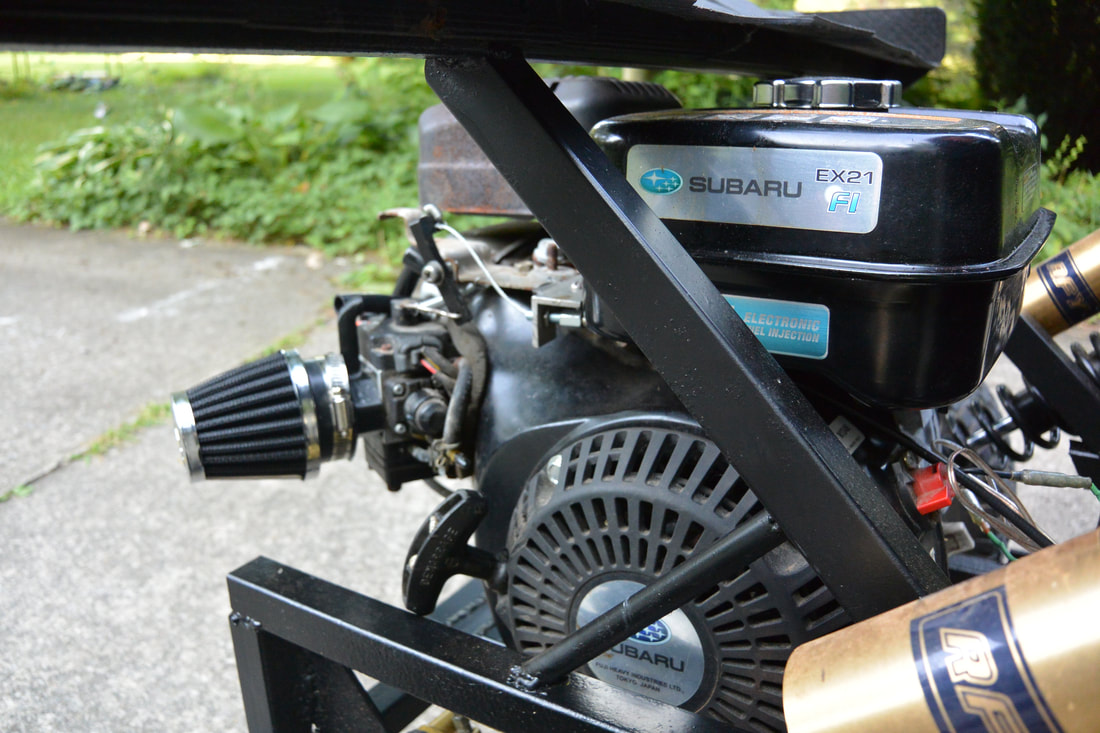
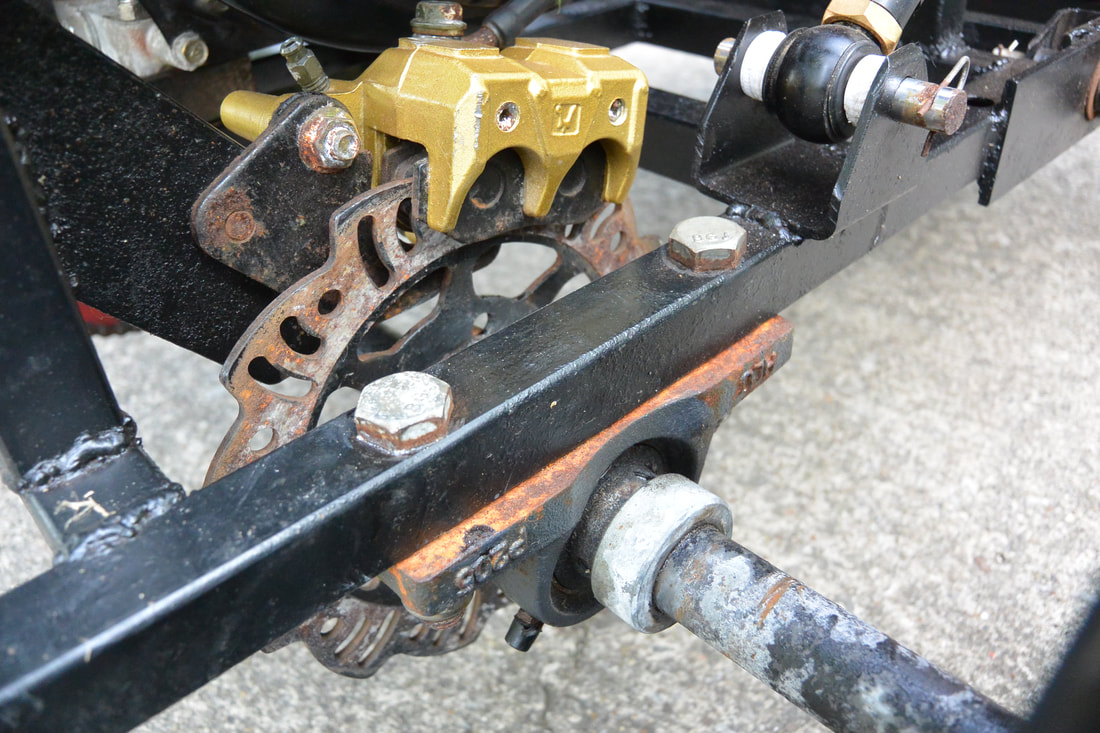
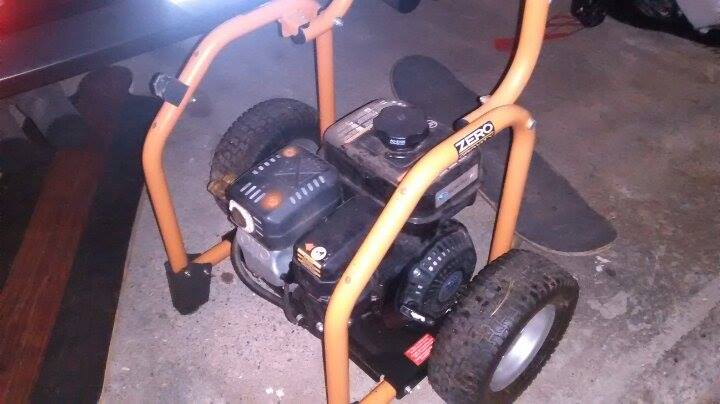
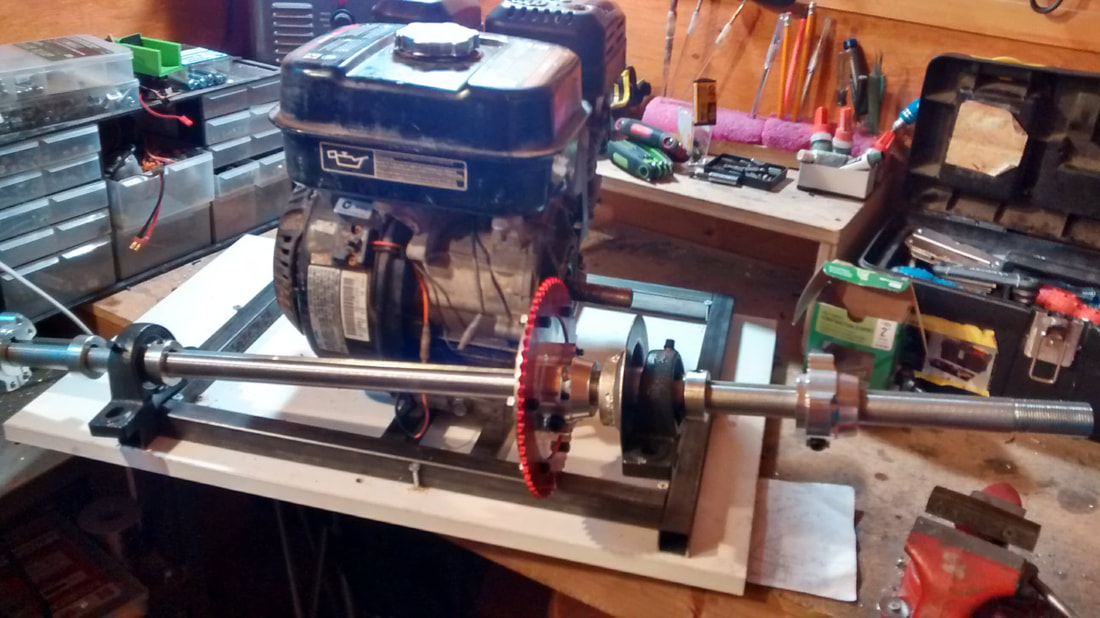
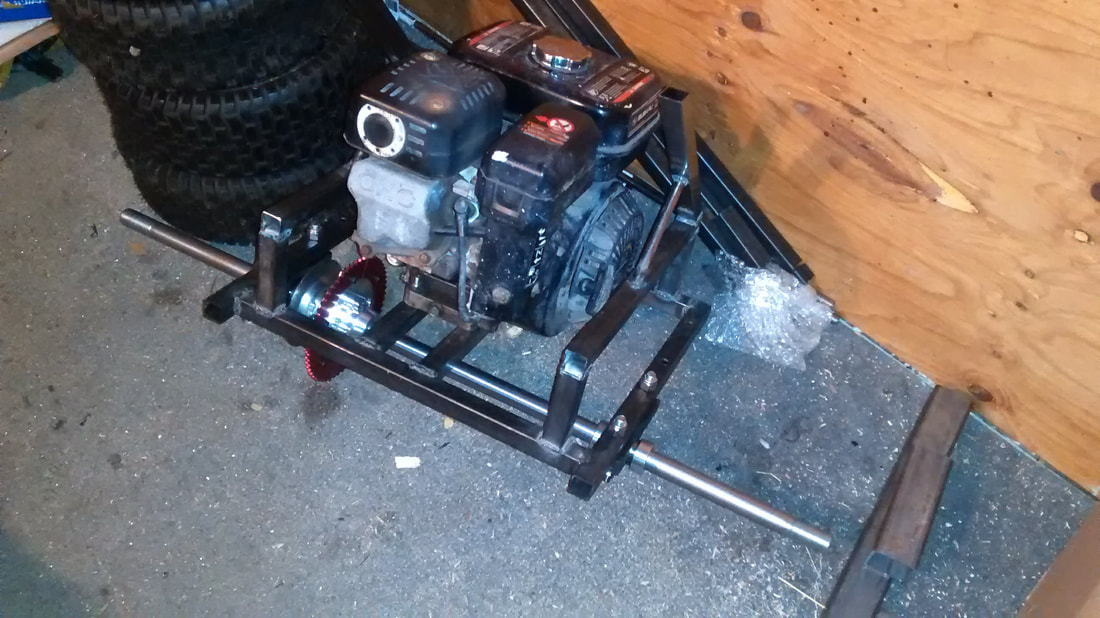
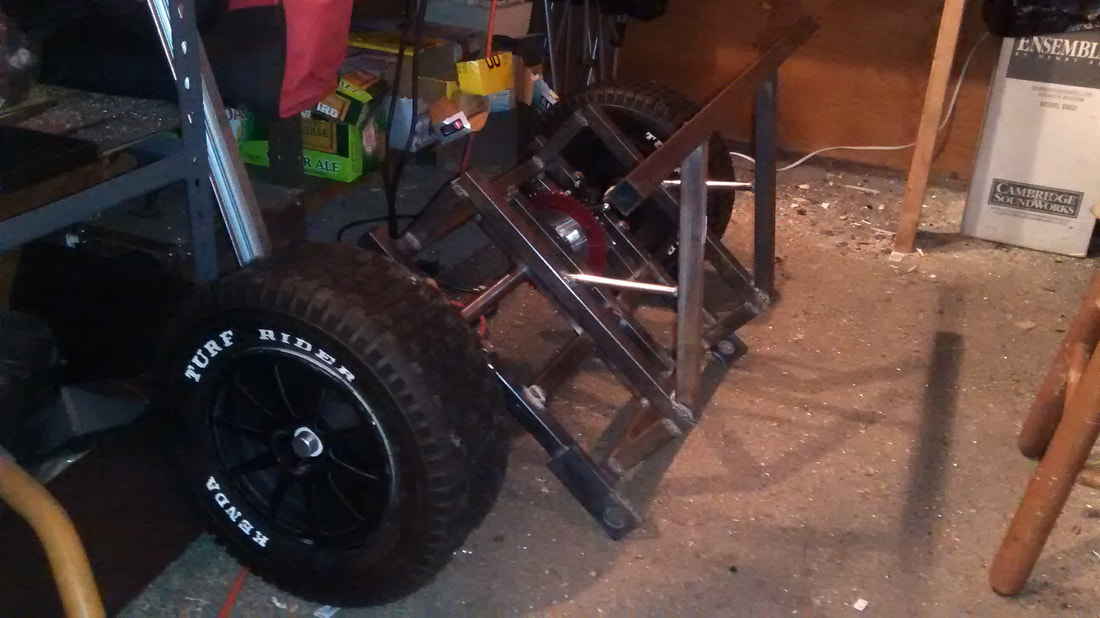
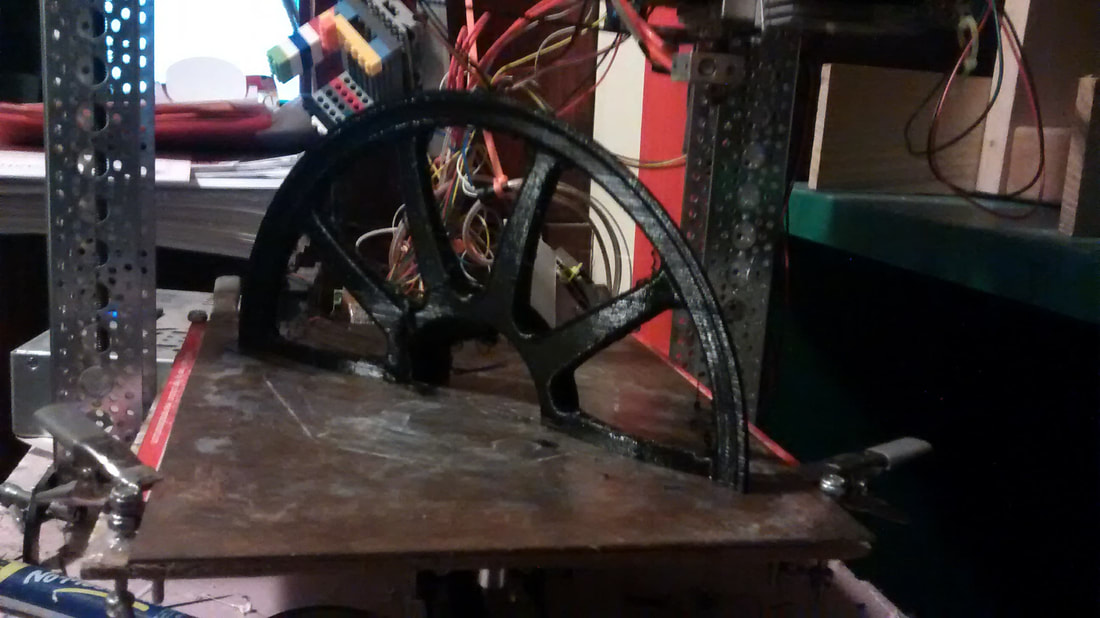
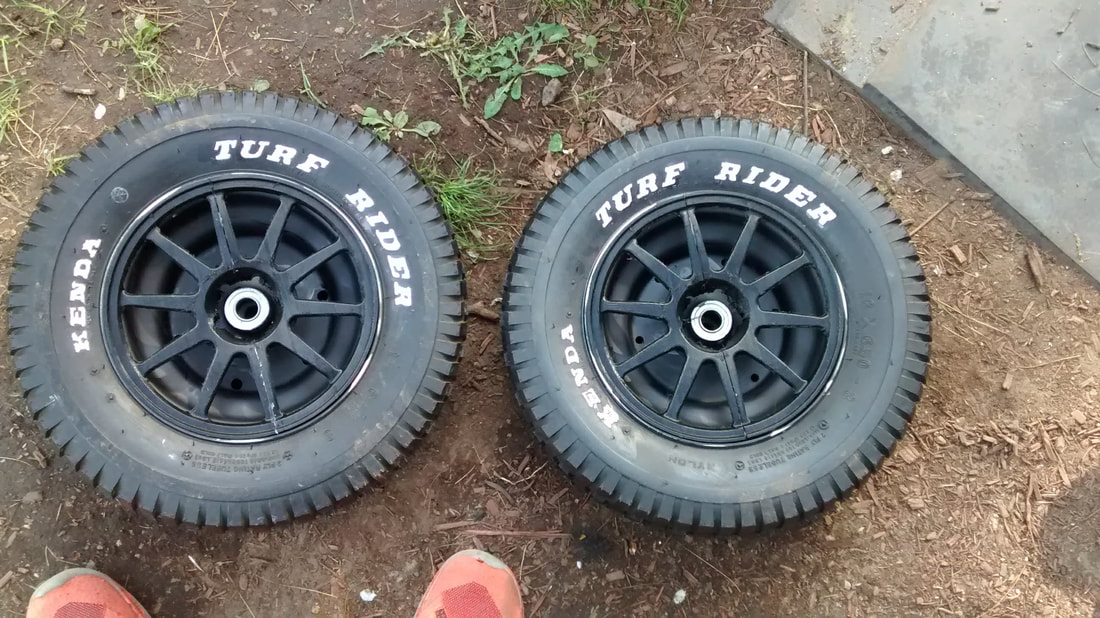
The rear end was cut and welded first, with just a simple centrifugal clutch and gear reduction to begin with which I would soon find wasn't cutting it for torque and overheated. The wheels were given to me for free from a teacher which used to belong on a trailer and were a little boring, so we painted the hubs black, white-lettered the side and 3D printed rims that glued together in 2 pieces and into the hubs for a really nice look.

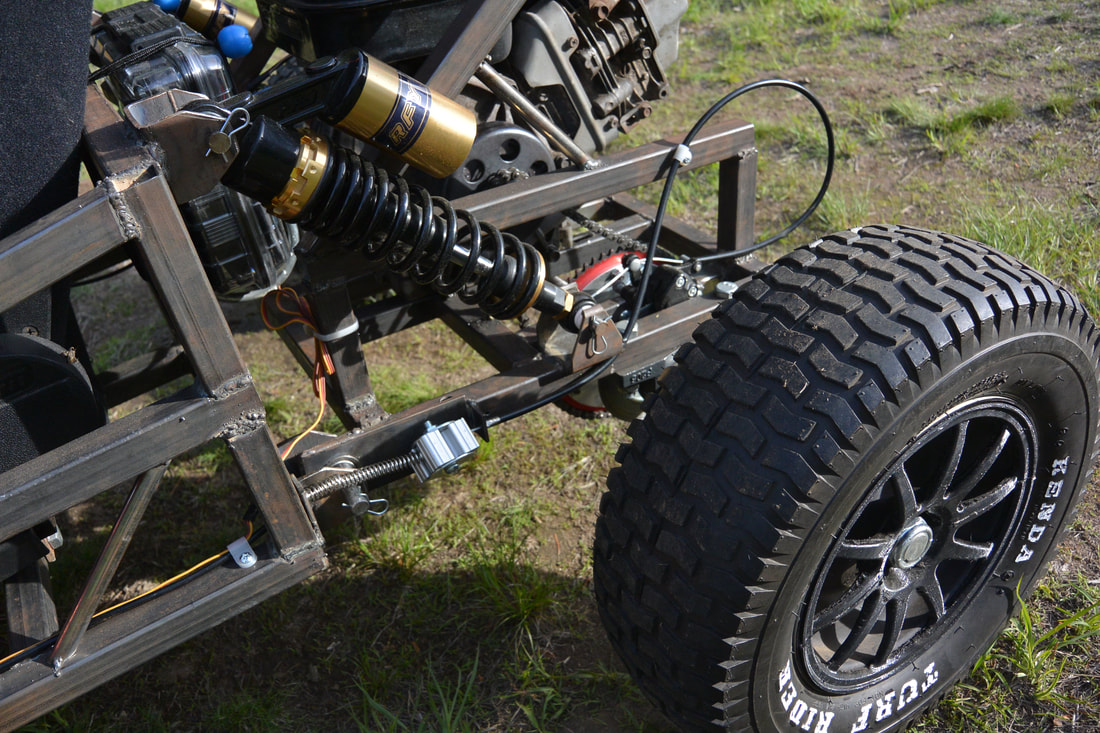
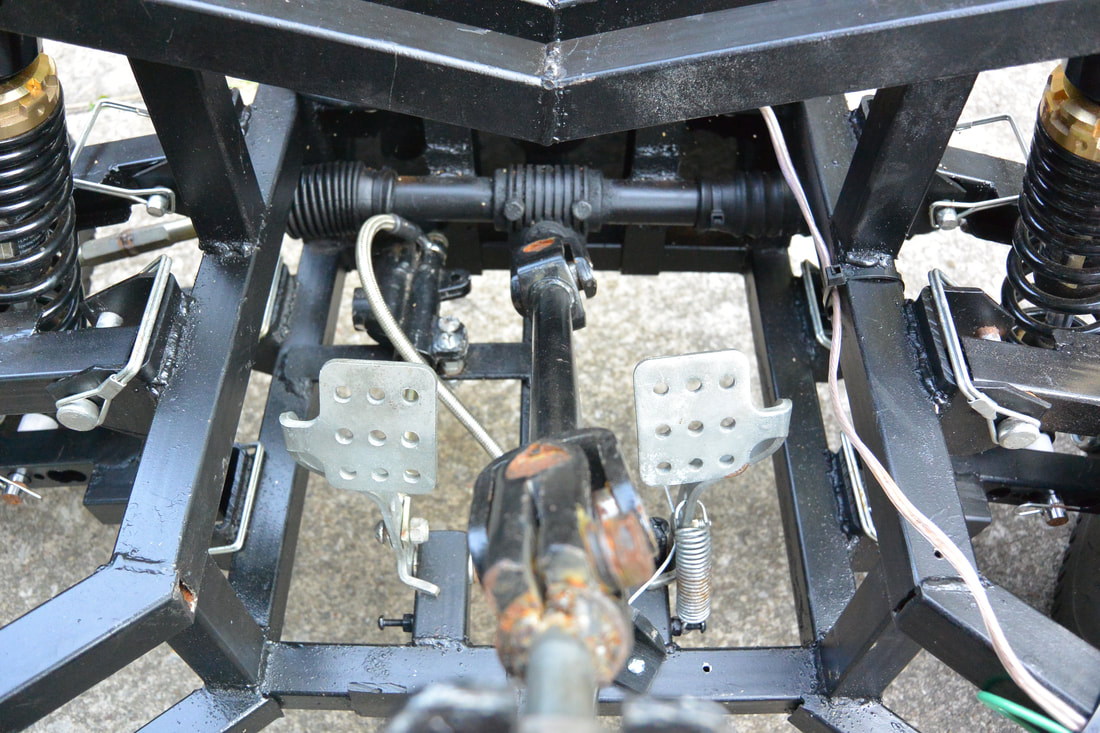
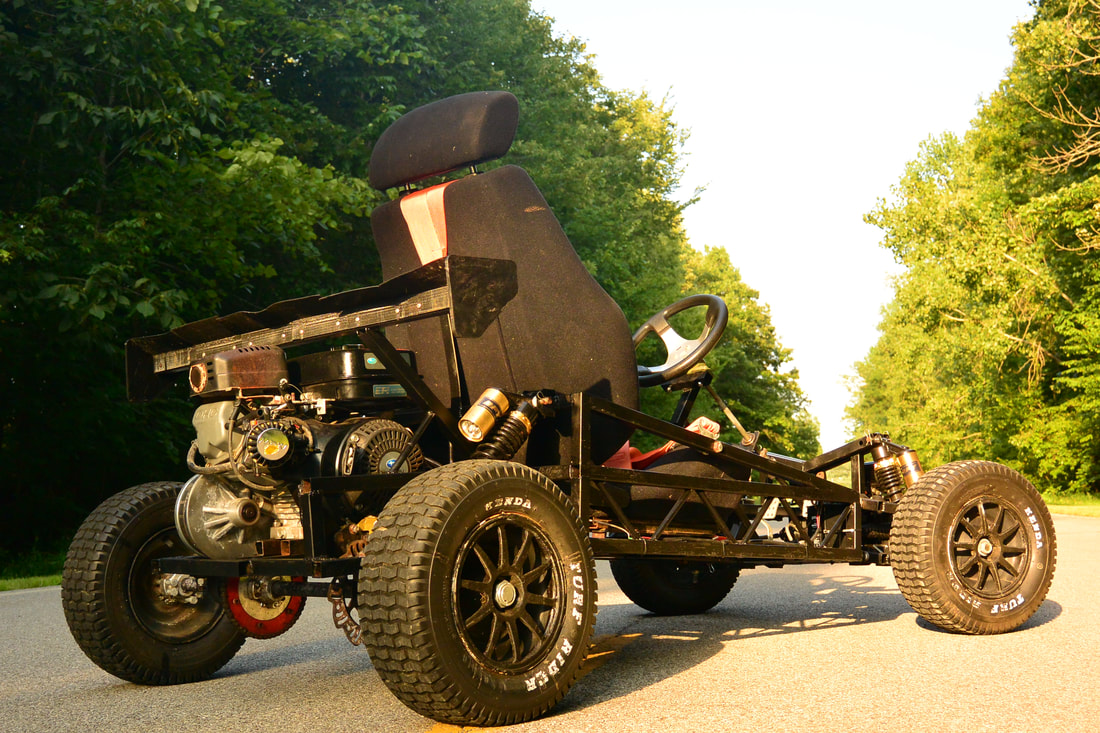
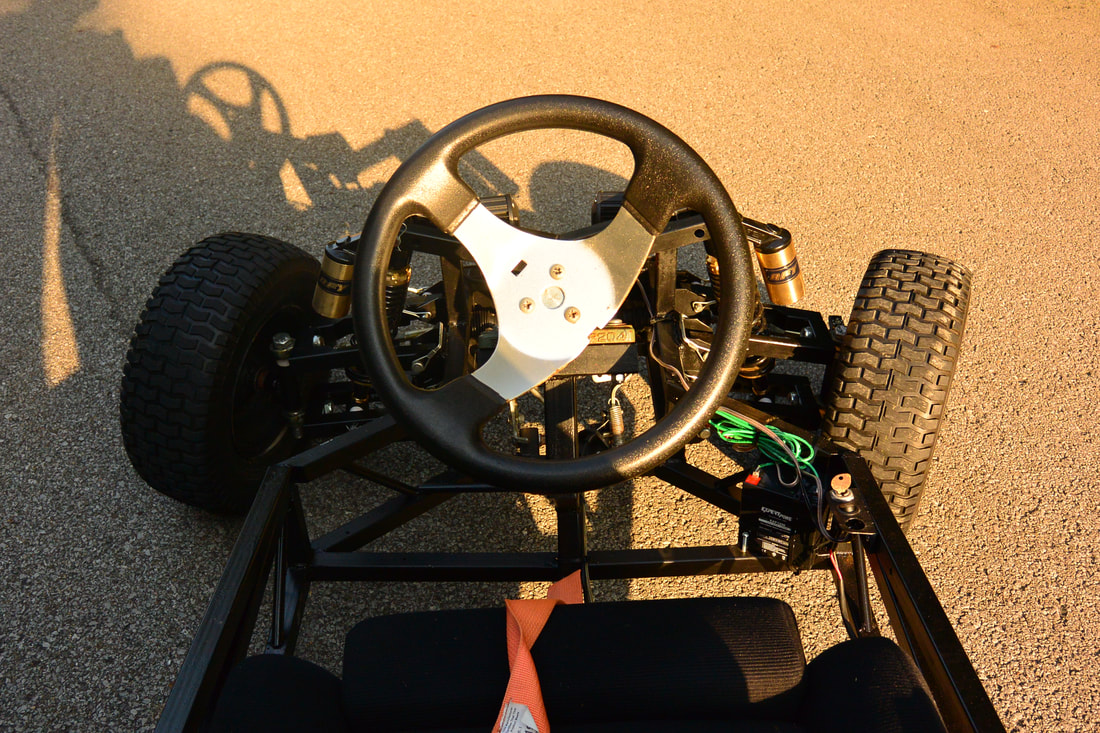
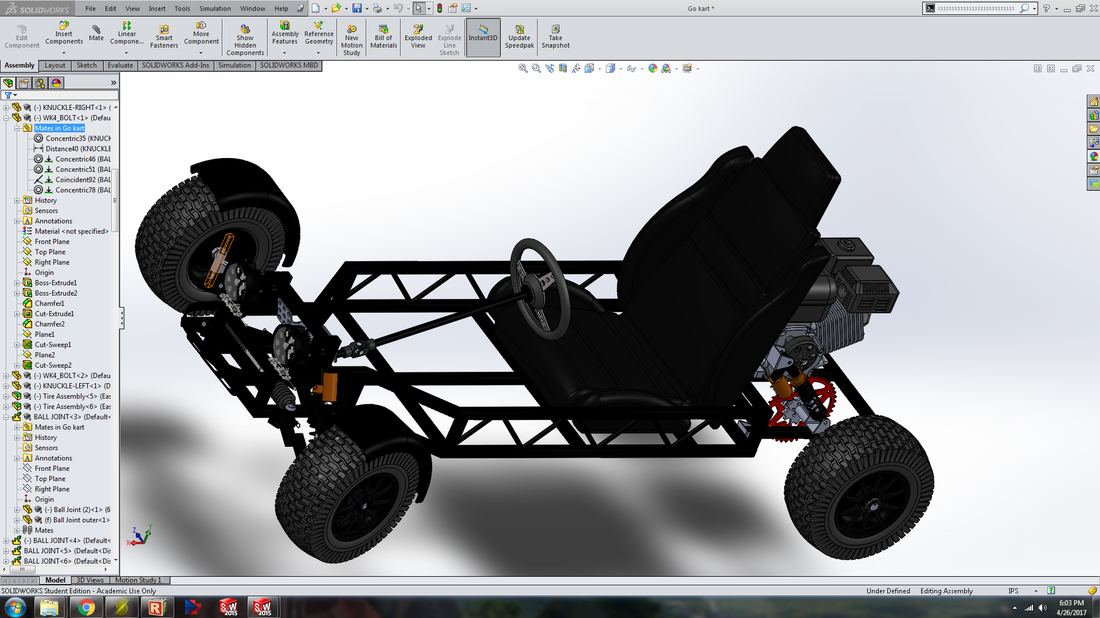
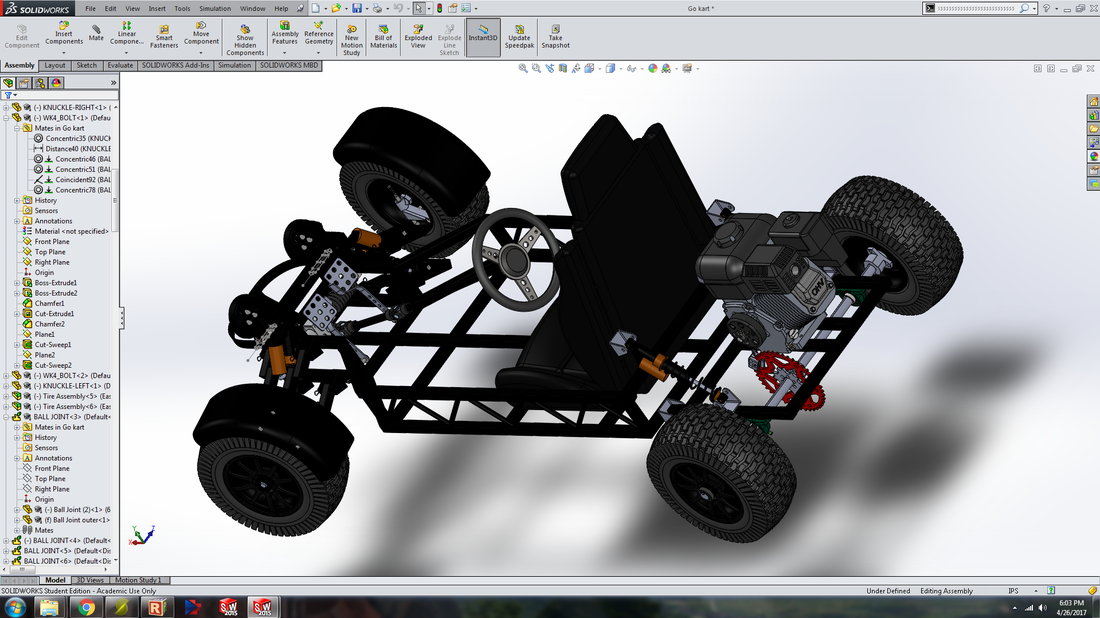
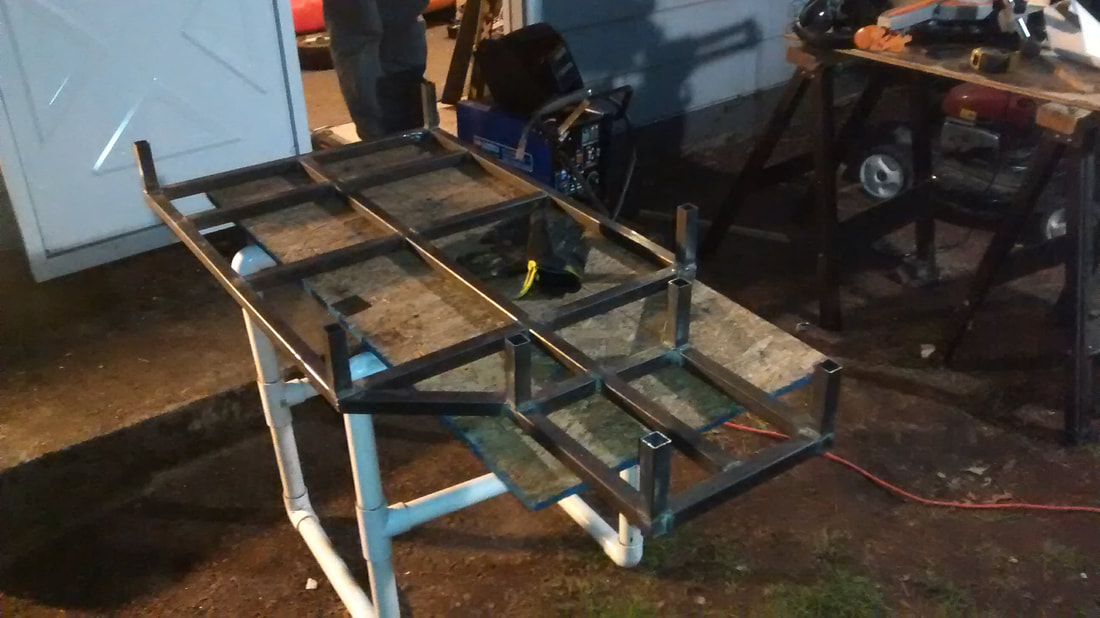
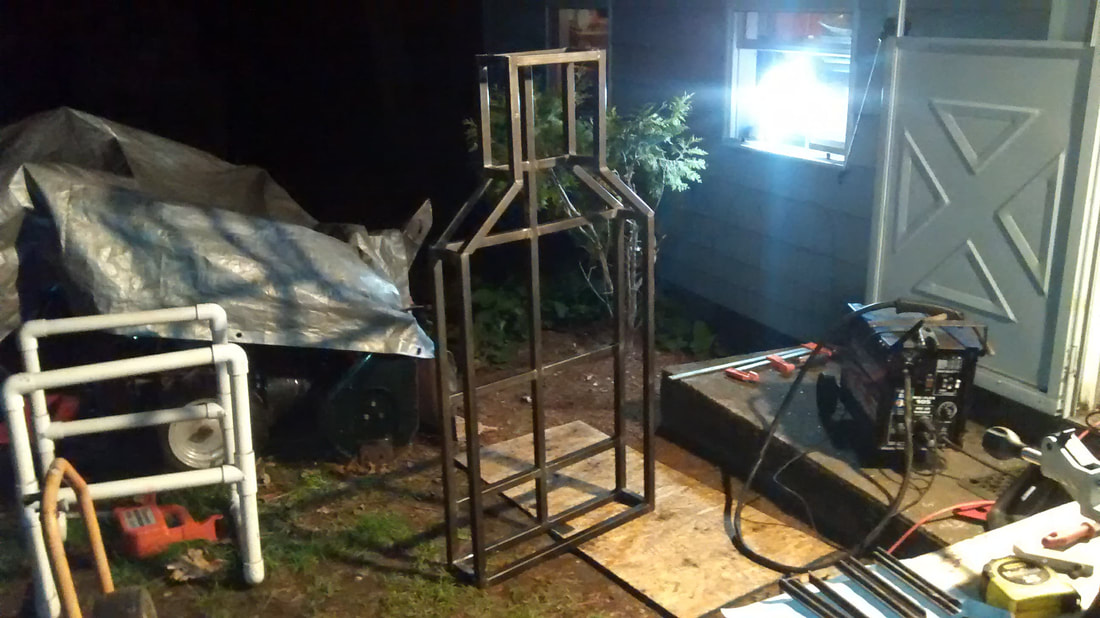
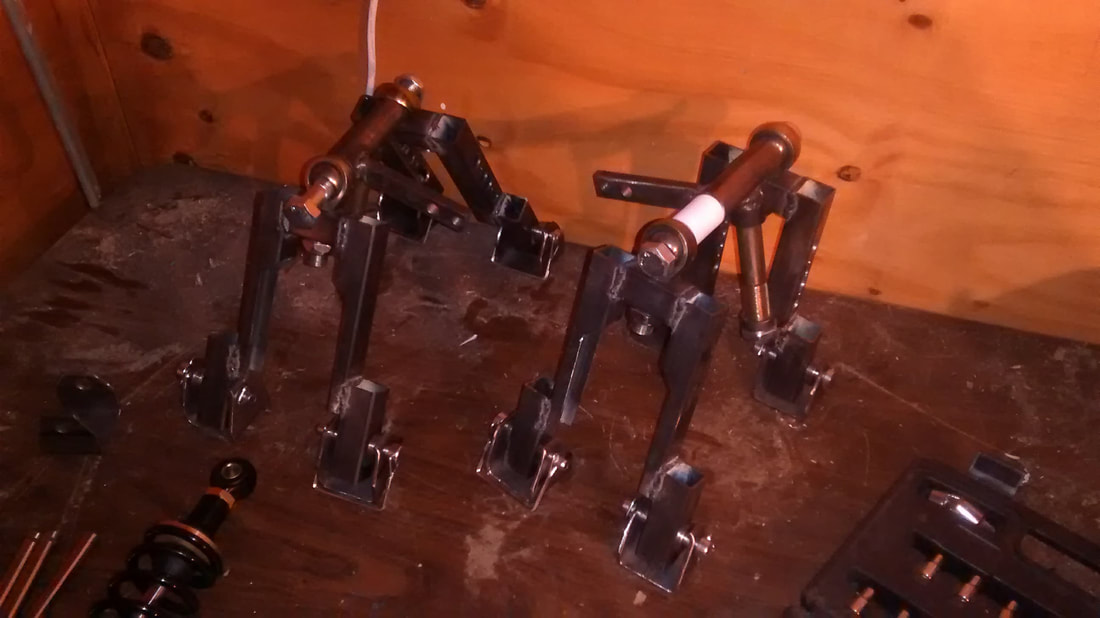
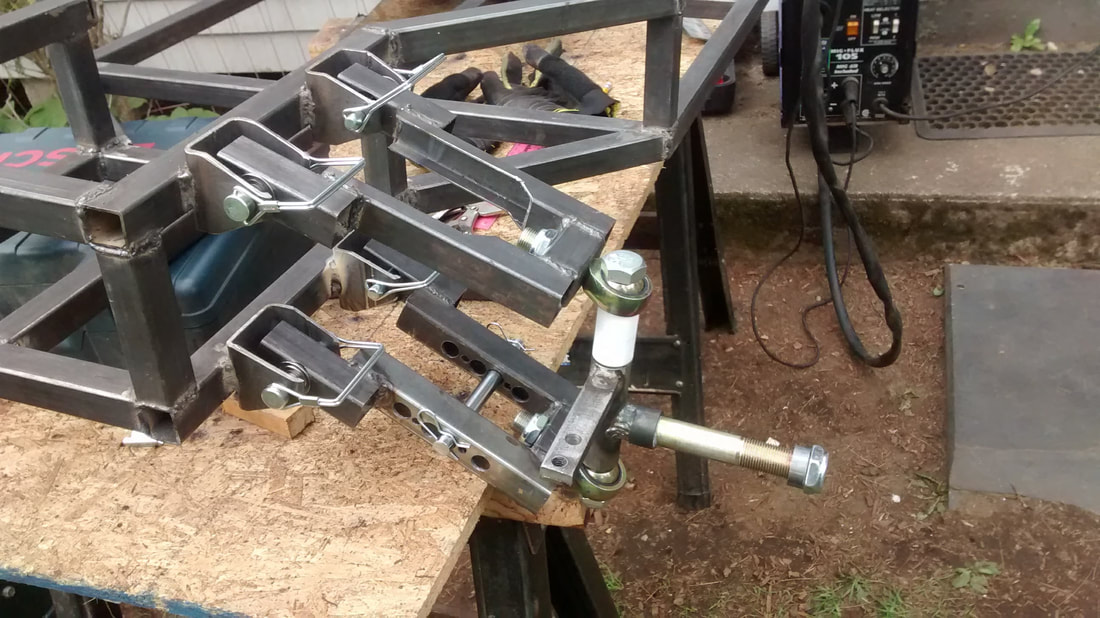
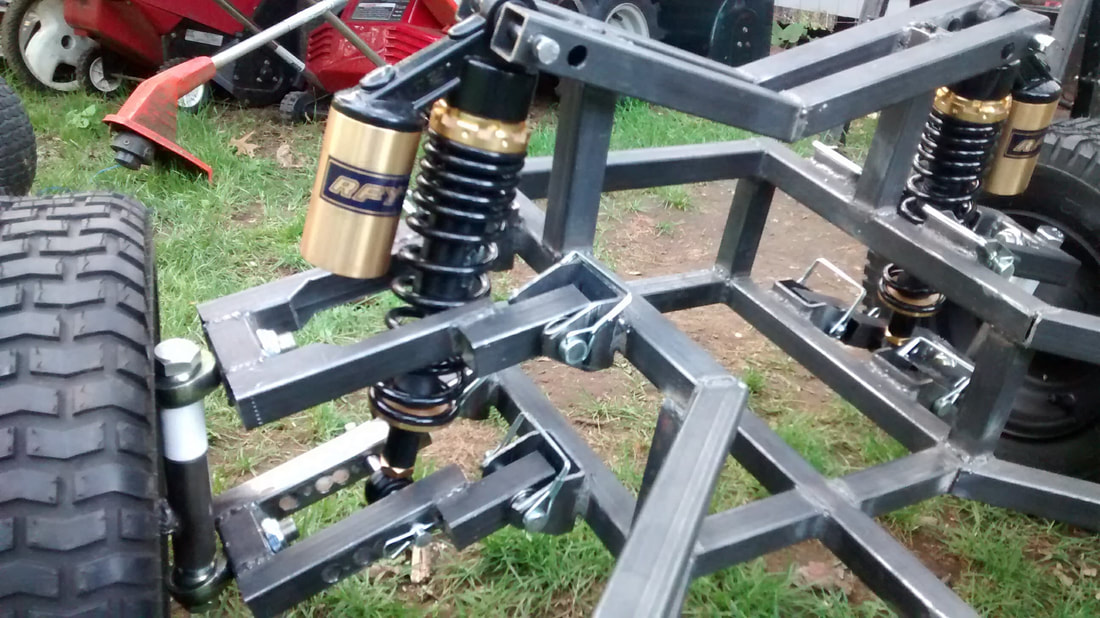
Main Chassis
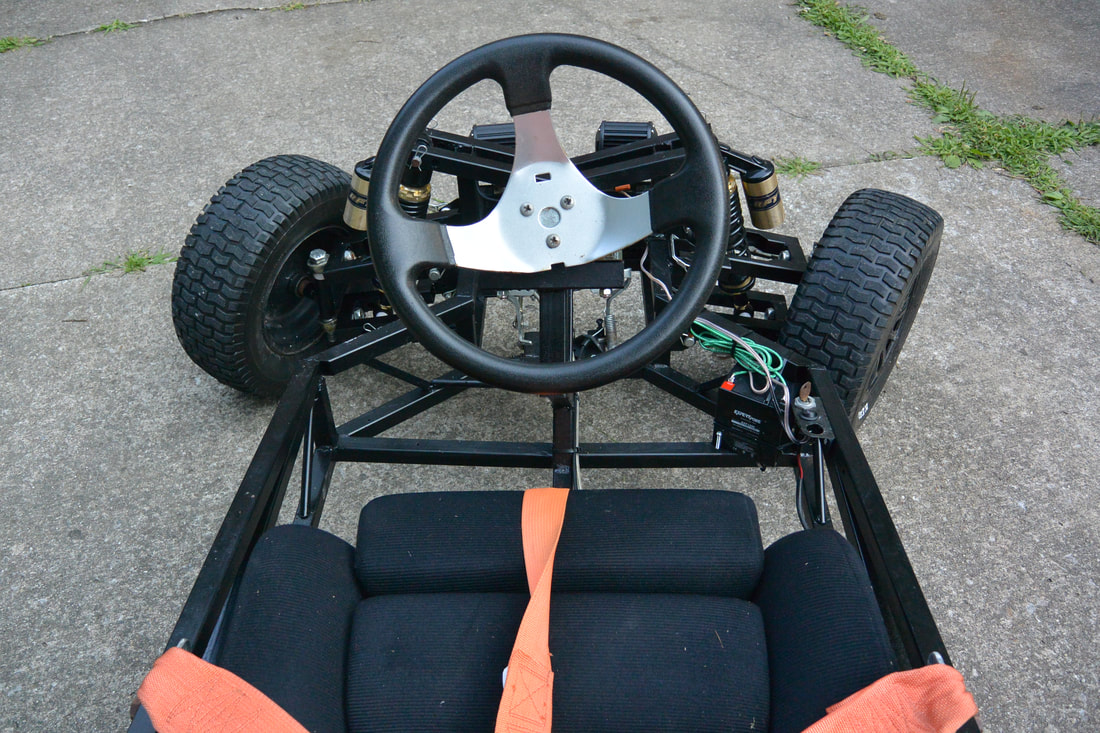
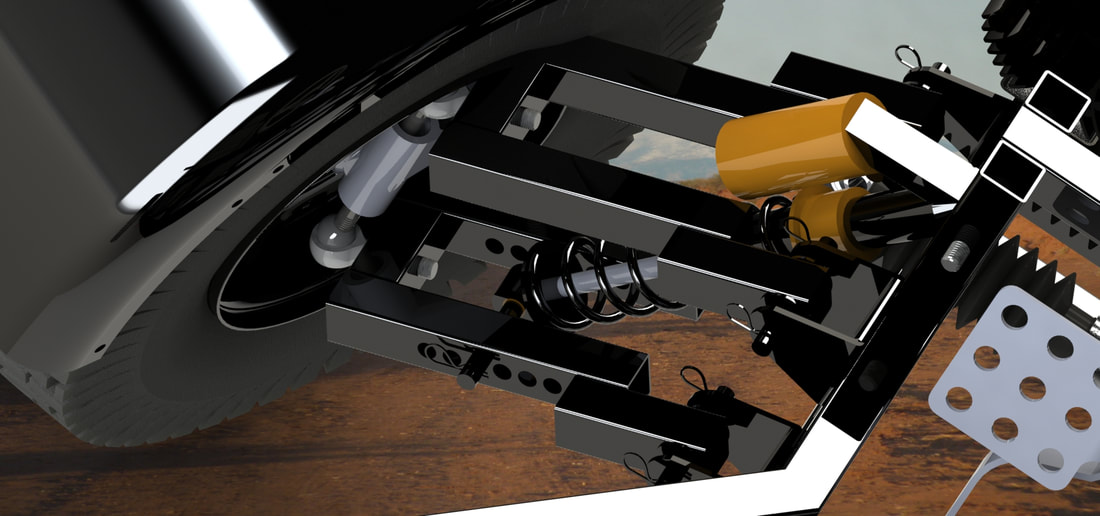
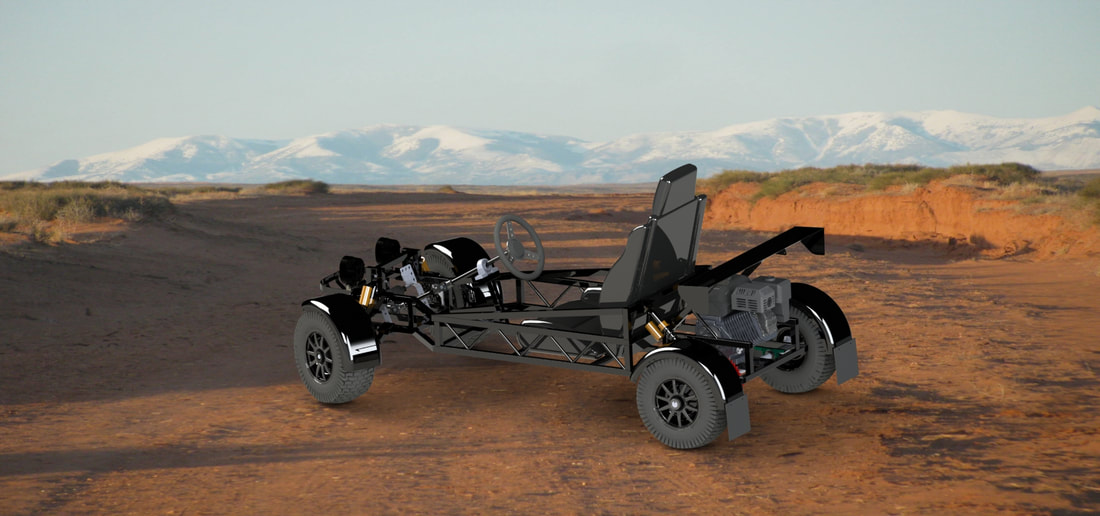
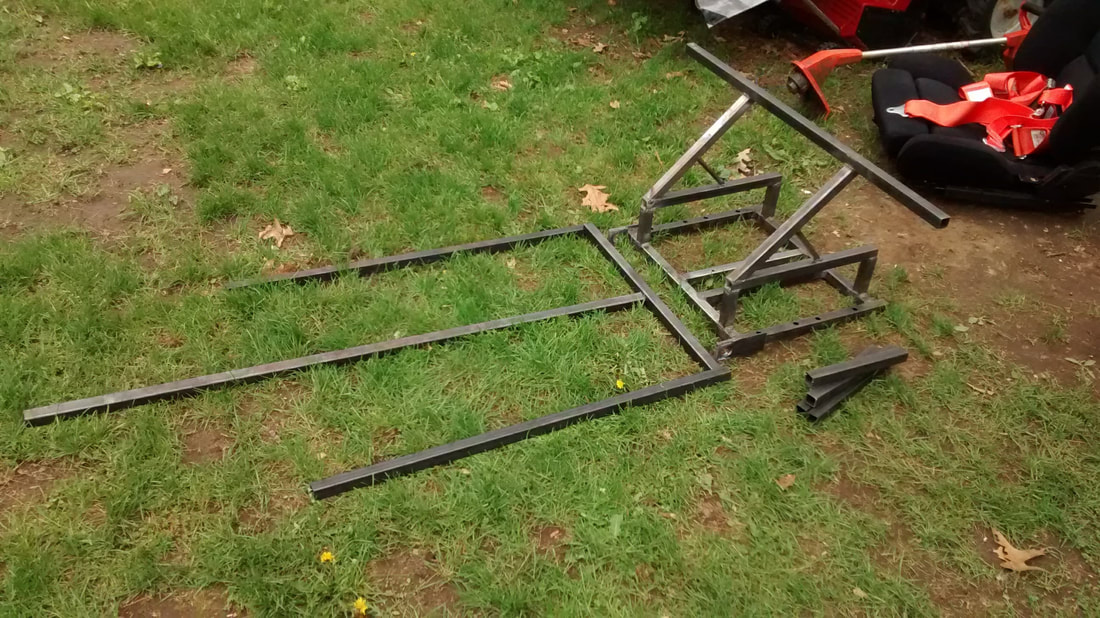
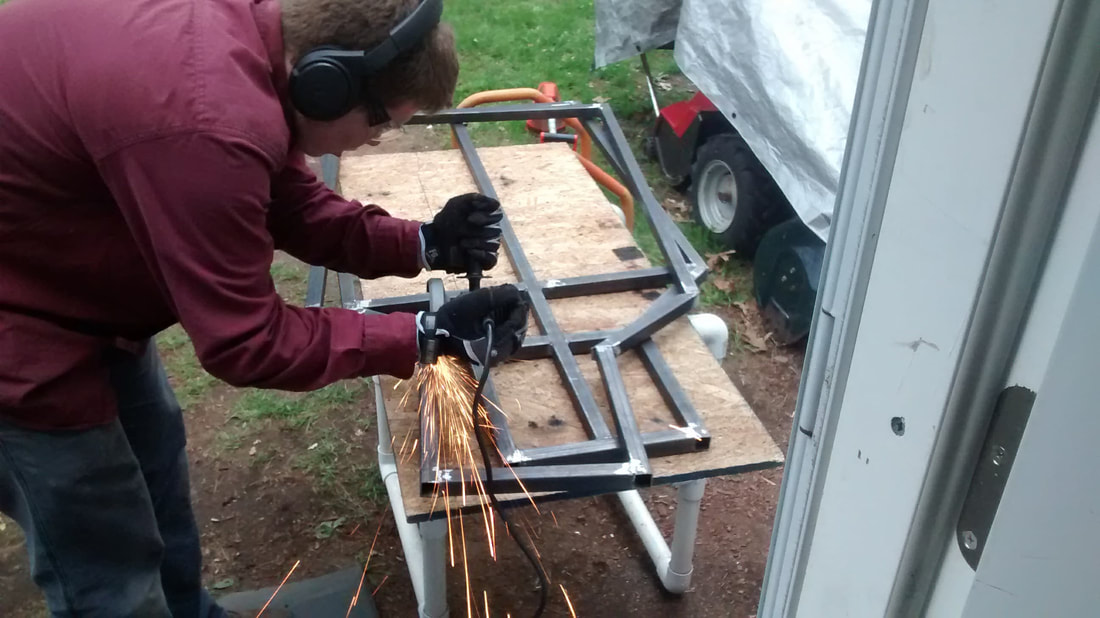
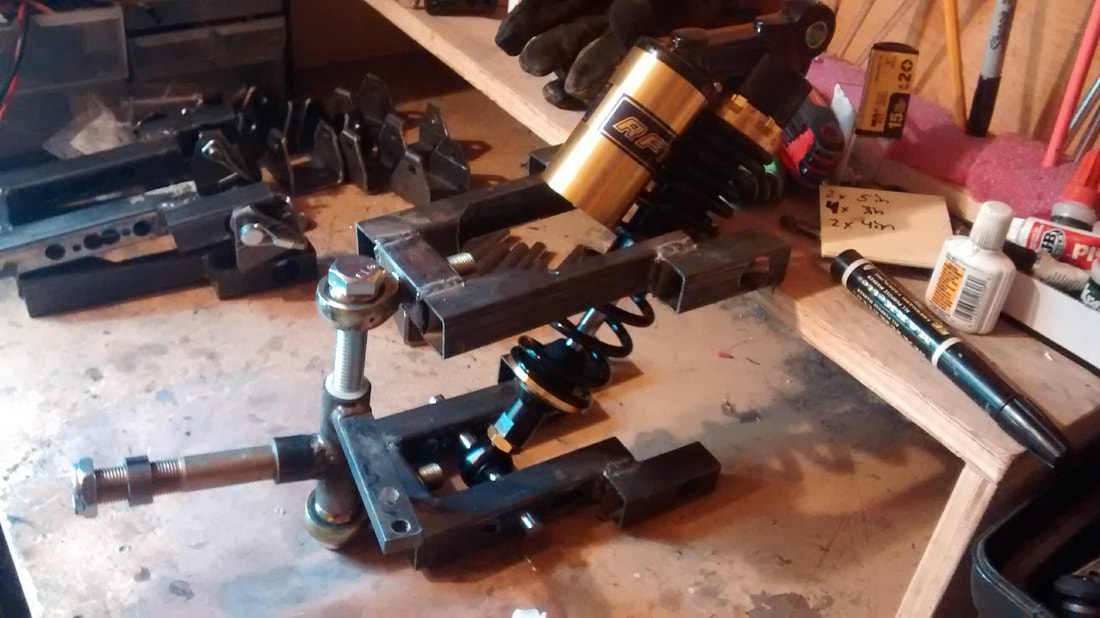
Next was the chassis. First I cut all the steel tubes and laid them out on the ground before welding in a homemade jig. 2 halves were made, then the vertical struts were welded to the bottom half with the top half sitting on top and welded on after that. The front suspension arms were all welded and drilled with 7/8 drill bits for the bearings that the arms rotated on. After the frame was welded and partially assembled, it was taken apart again for a clear coat of paint to fight rust.
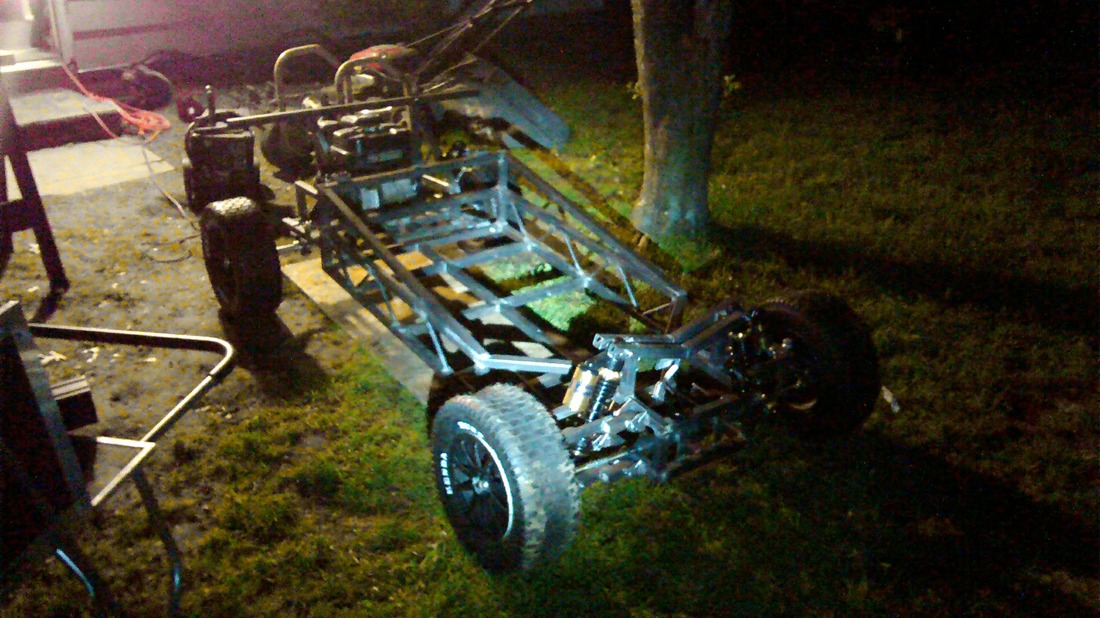
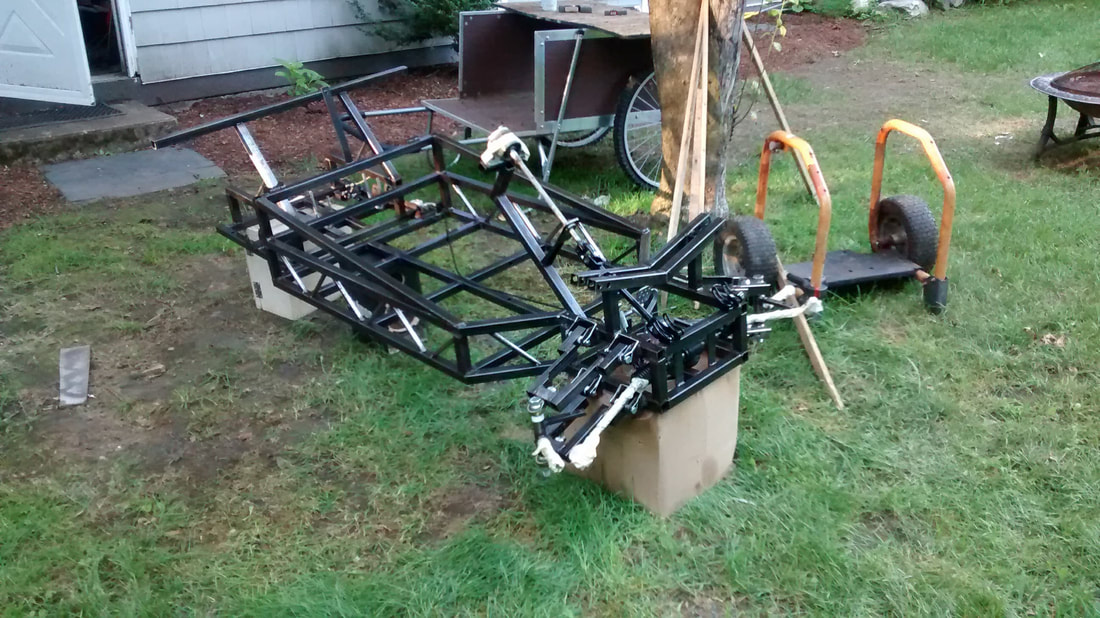
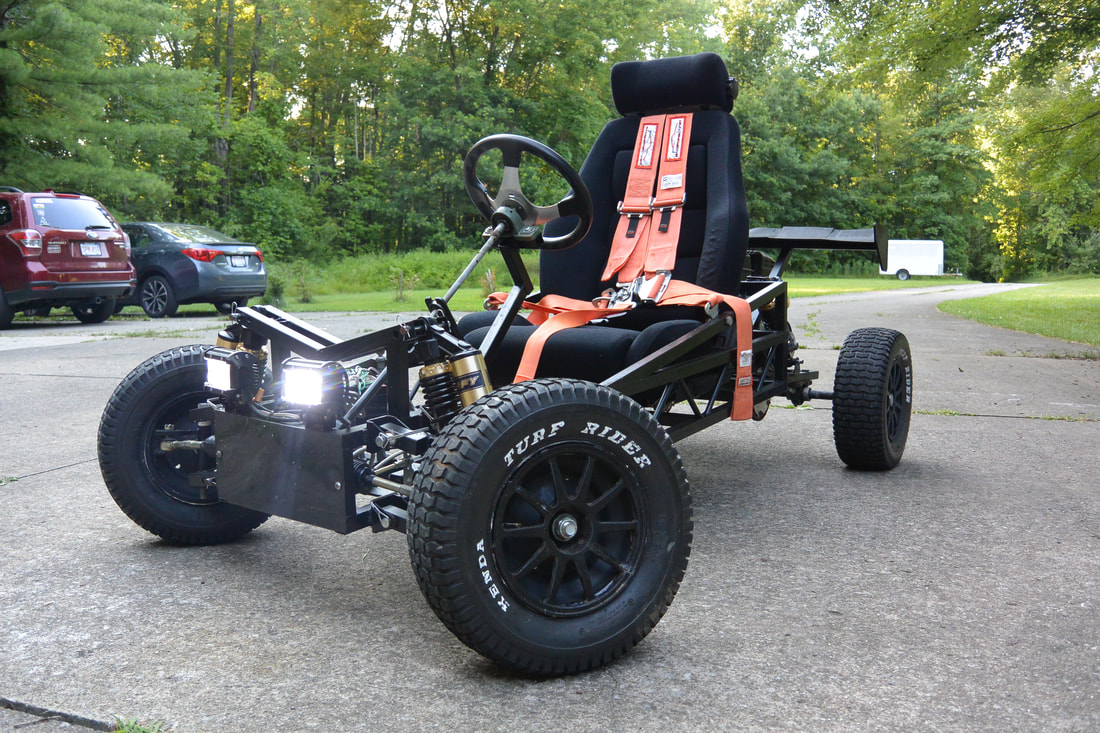
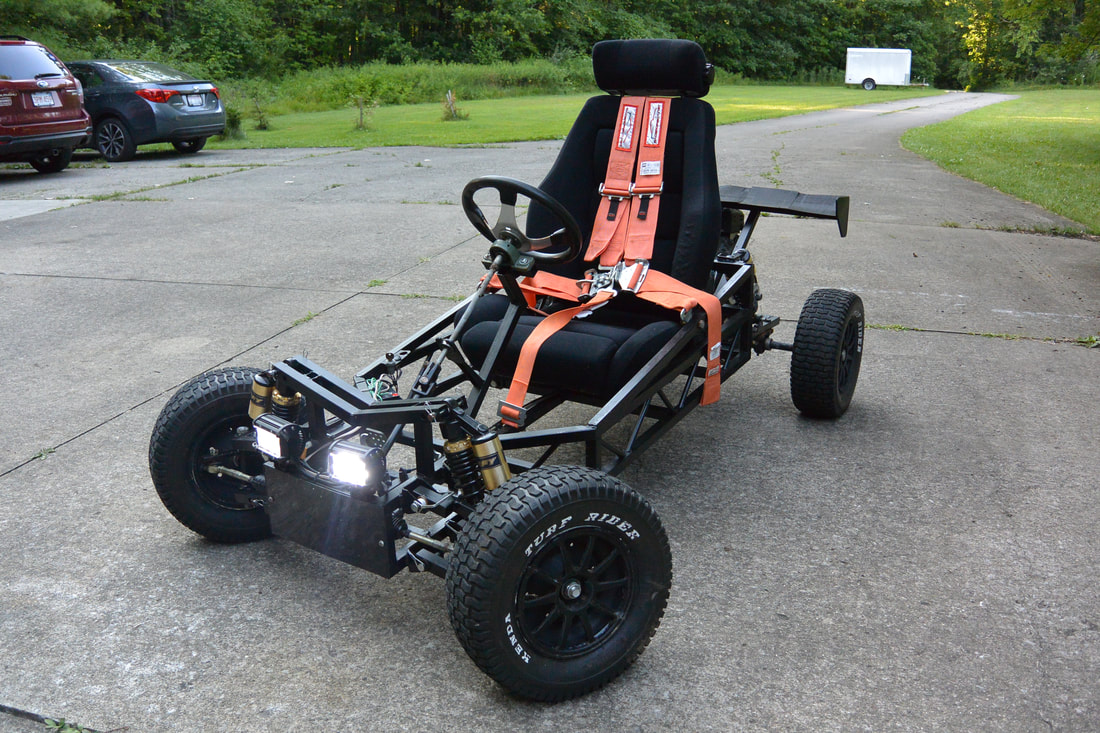
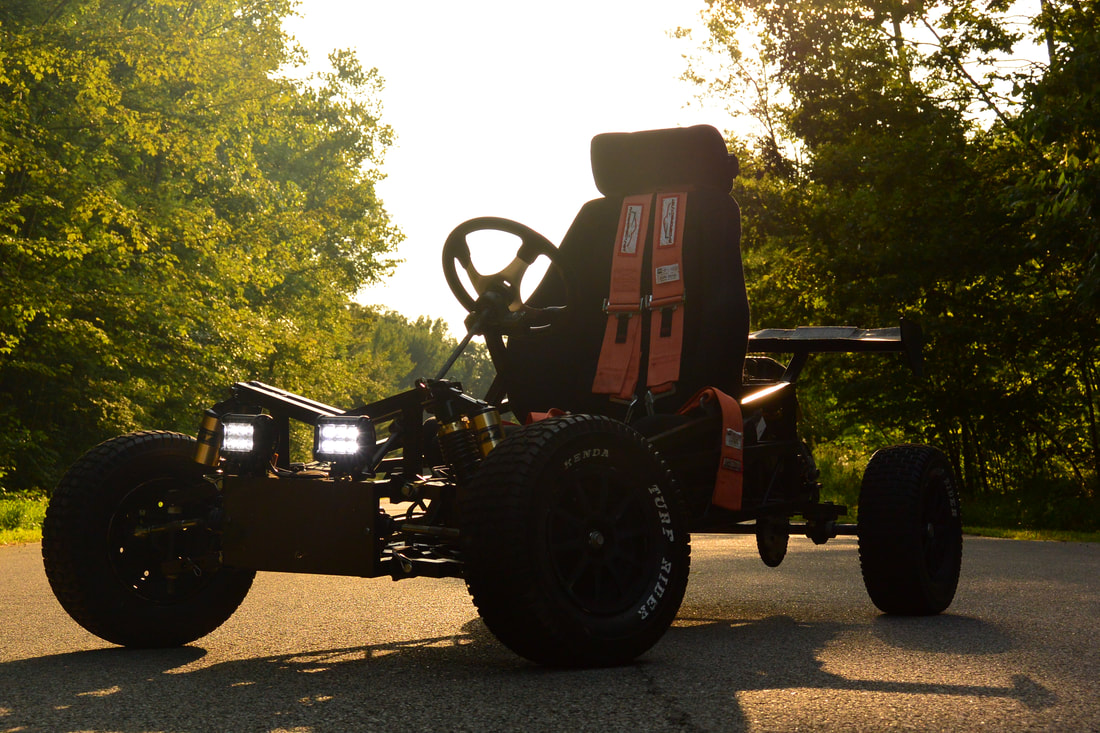
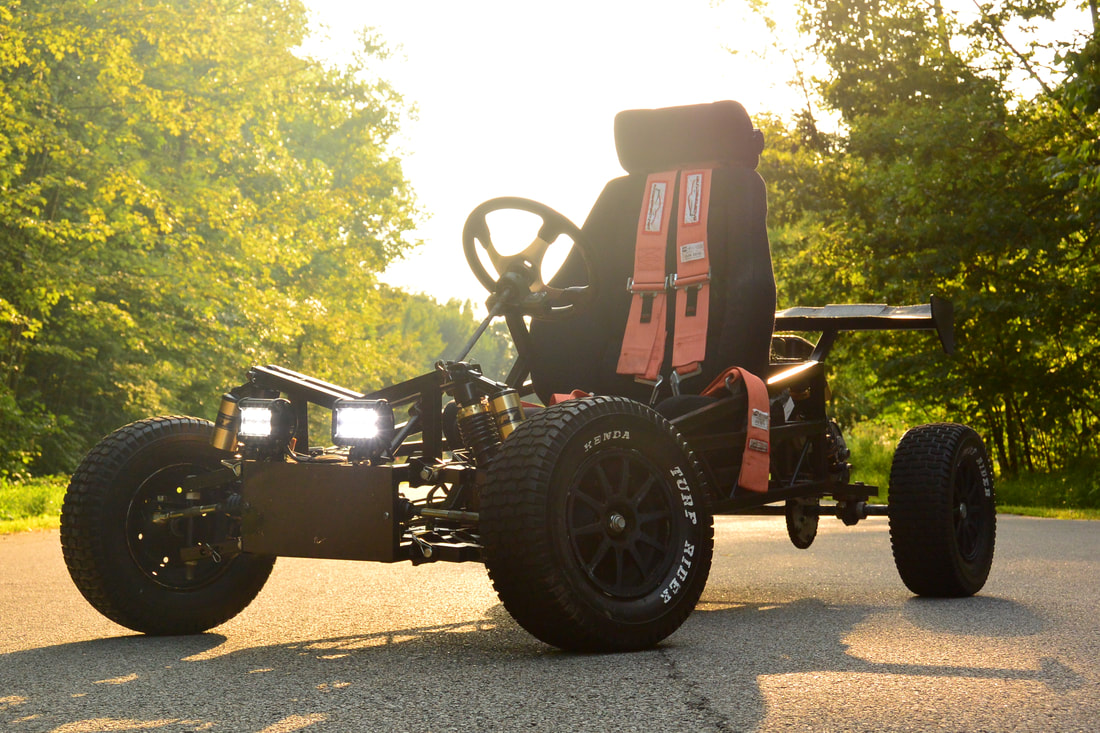
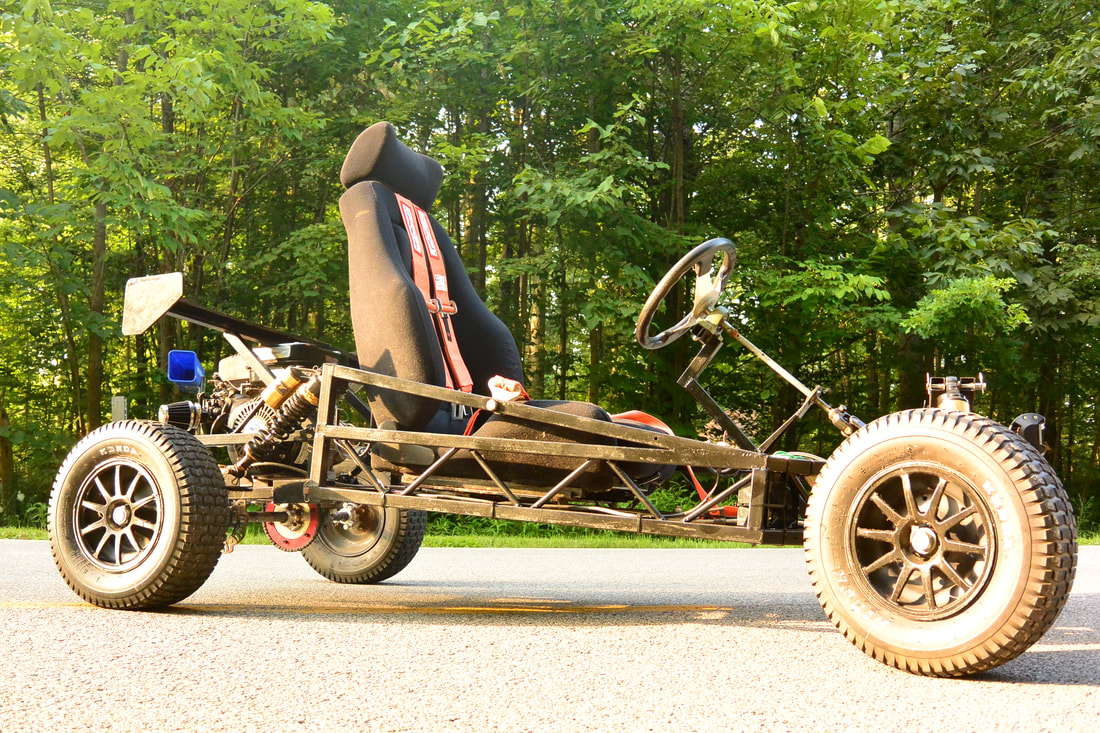
Finished Product
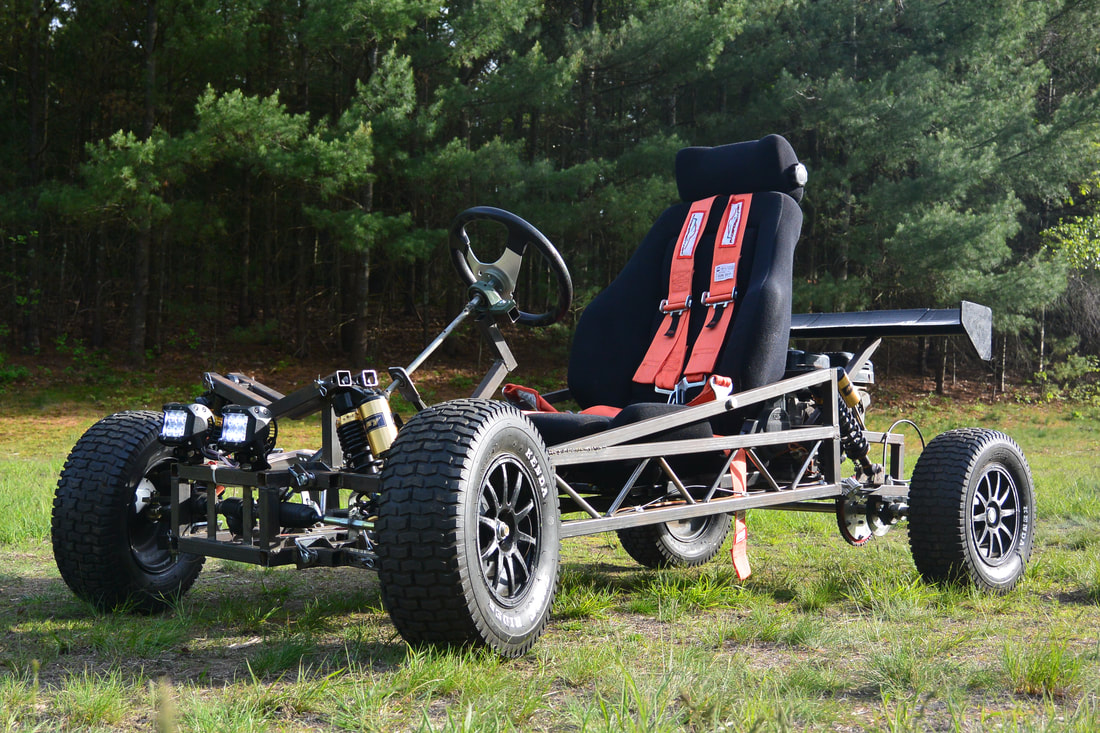
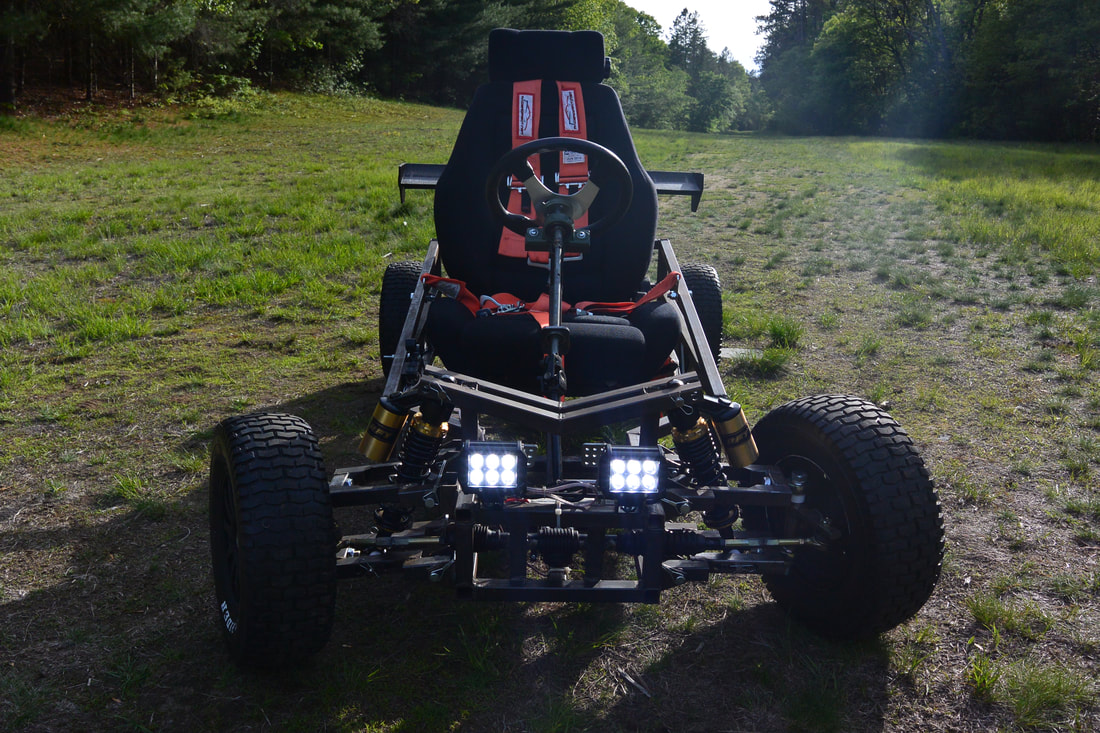
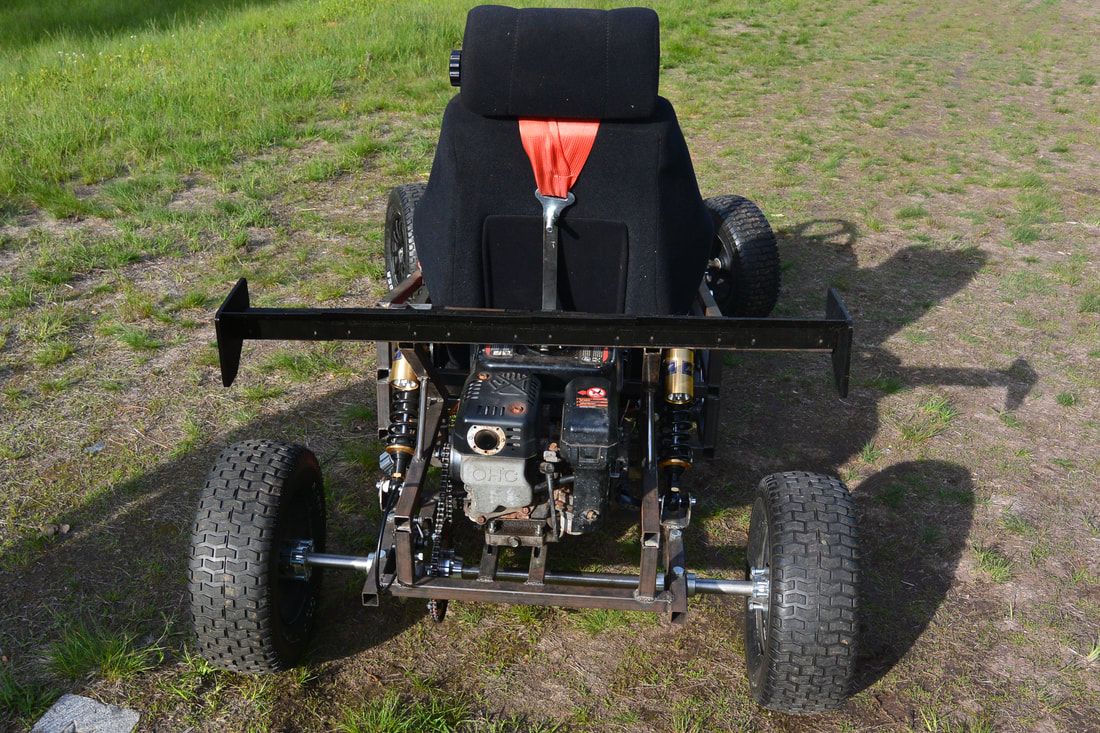
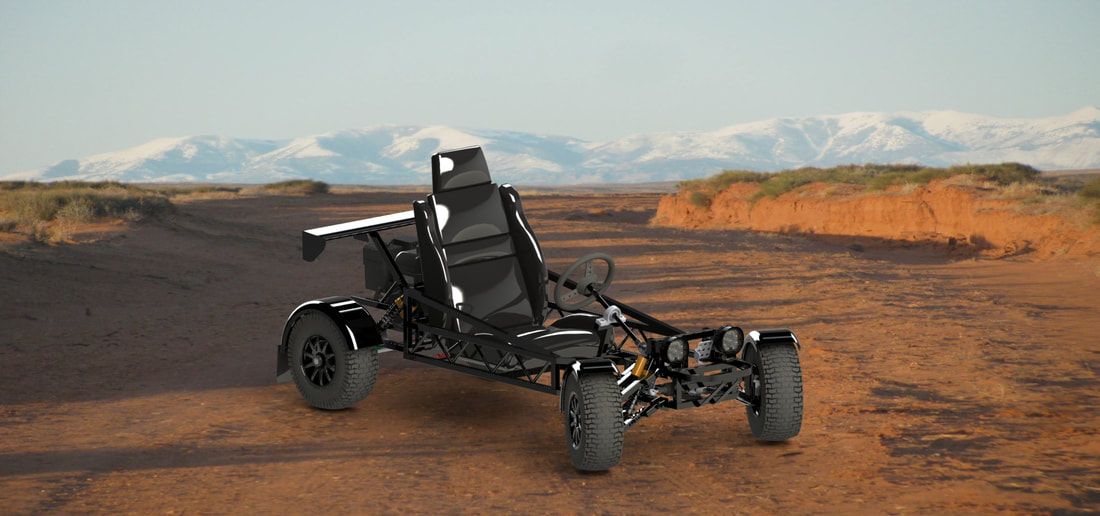
Of course finished comes with an asterisk but it ran and topped out at about 30 MPH after being fitted with a CVT (continuously variable transmission) for better starting torque and higher top-end speed. These are the photos taken after working on the Go Kart almost 24/7 for the past 6 weeks to meet the deadline for the senior project. Since these photos, the CVT was installed, a larger capacity lead acid battery was put in for the lights and servo actuated throttle, and baffles and shields were added to the front and sides to keep out dirt and snow from the frame.